A project group is a logical grouping of related projects that serves to organize and manage projects sharing common characteristics.
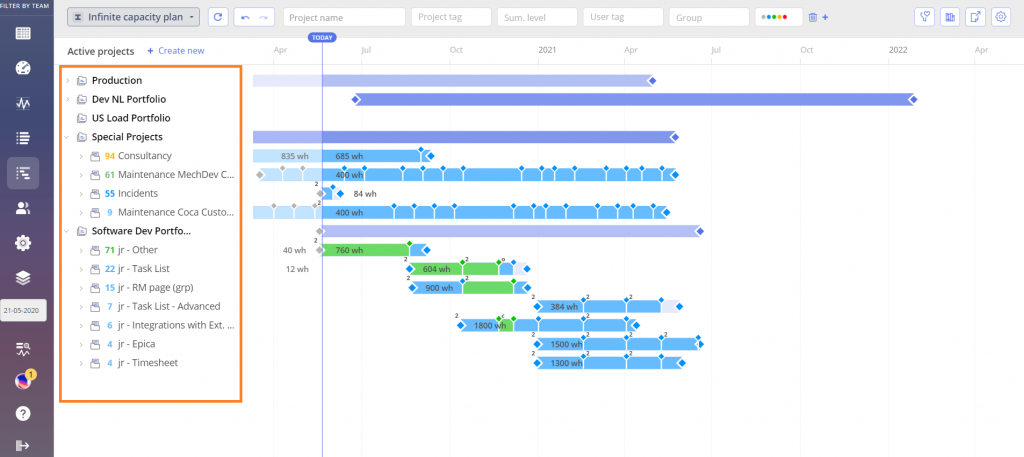
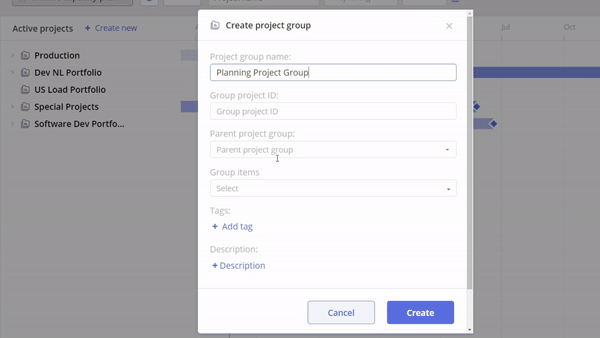
Screen #1– Pipeline – Project Groups
Add a Project Group
Create a Project Group
- Navigate to the Pipeline Page and choose “Create new.”
- Select “Project Group.”
- Enter Project Group name (required).
- Enter Group project ID (optional).
- Select Parent project group (optional).
- Add Group items representing Projects (optional).
- Add Tag(s) (optional).
- Add Description (optional).
- Click the “Create” button.
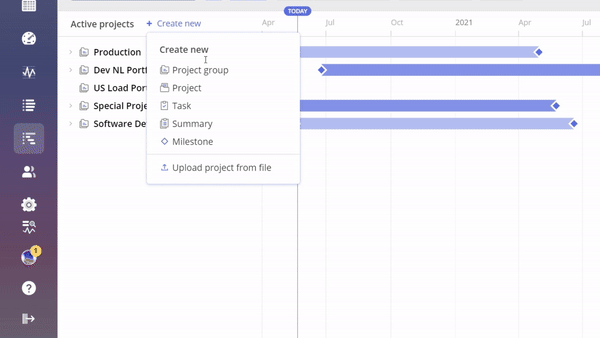
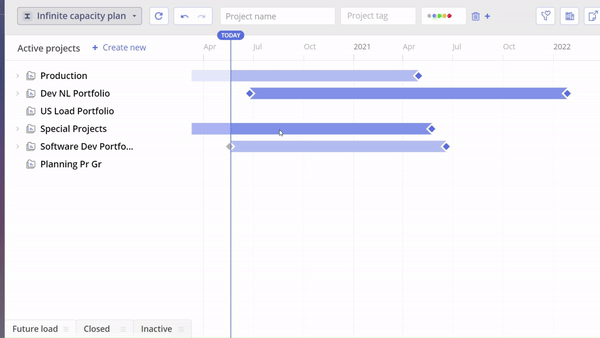
Screen #1– Add the Project Group
View the empty Project Groups
- Navigate to the Pipeline page.
- In the top right corner, click on the Settings icon.
- Select the option Show Empty Project Groups.
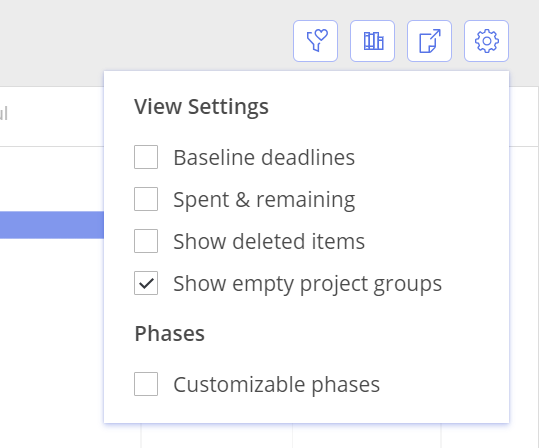
Screen #2– Show Empty Project Groups.
Edit a Project Group
To edit a Project Group do the following
- Navigate to the Pipeline page.
- Click on the Project Group name to open its card.
- Make the desired changes.
- Click the Save button.
Screen #3– Edit the Project Group
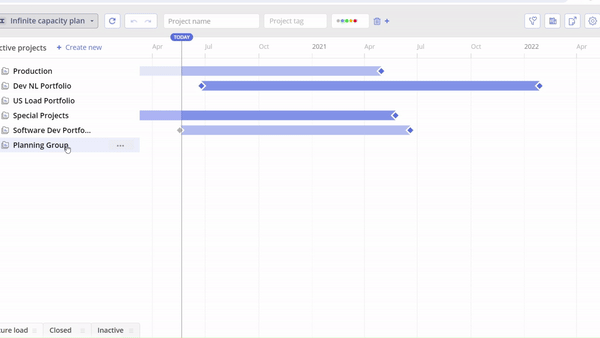
Nest a Project Group
To nest a project group within another project group, select the parent group where you want to nest the Project Group.
Screen #4– Nest the Project Group
Delete a Project Group
To delete a Project Group do the following
- Click on the three dots next to the Project Group.
- Select the Delete button.
Screen #5– Delete the Project Group