Often, for a more detailed analysis of the current situation, our customers need to have on hand data reporting. That is why we have a system for regularly generating reporting files according to basic planning criteria.
Our functionality offers the following types of reporting:
1. Data for the current month. It displays data by project name, status, priority, assigned performers and the groups to which they belong.
2. Data for the previous month with an equivalent content for the previous month.
3. Tasklist in which the list of available registered tasks is listed.
Getting your reports
To provide our clients with easier and safer access to their reporting files, we use the FTPS system. This system allows you to connect in two ways. The embedded file is an explorer and a client program (“WinScp” is specified as an example).
You will first need the FTP account login information.
on Windows
This manual gives an example of connecting using the File Explorer tool.
- Open file Explorer. For that go to Start > Computer or use the shortcut Windows Key + E to start Windows Explorer.

Screen #1 – Windows – Open File Explorer
- Type ftp://username@domain:port into the top address bar.

Screen #2 – Windows – connecting via ftp
- In newly appeared window enter previously obtained credentials
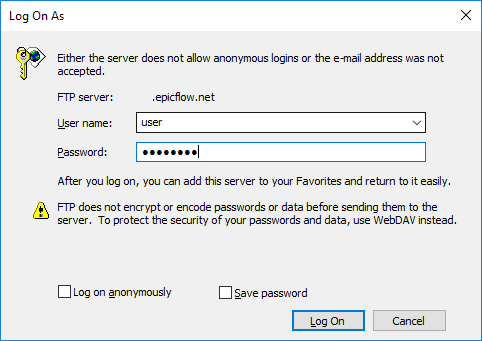
Screen #3 – Windows – FTP- Authorization

Screen #4 – Windows – FTP- Personal configuration adjustment
- Copy required files to your home directory to proceed with their modification if required.
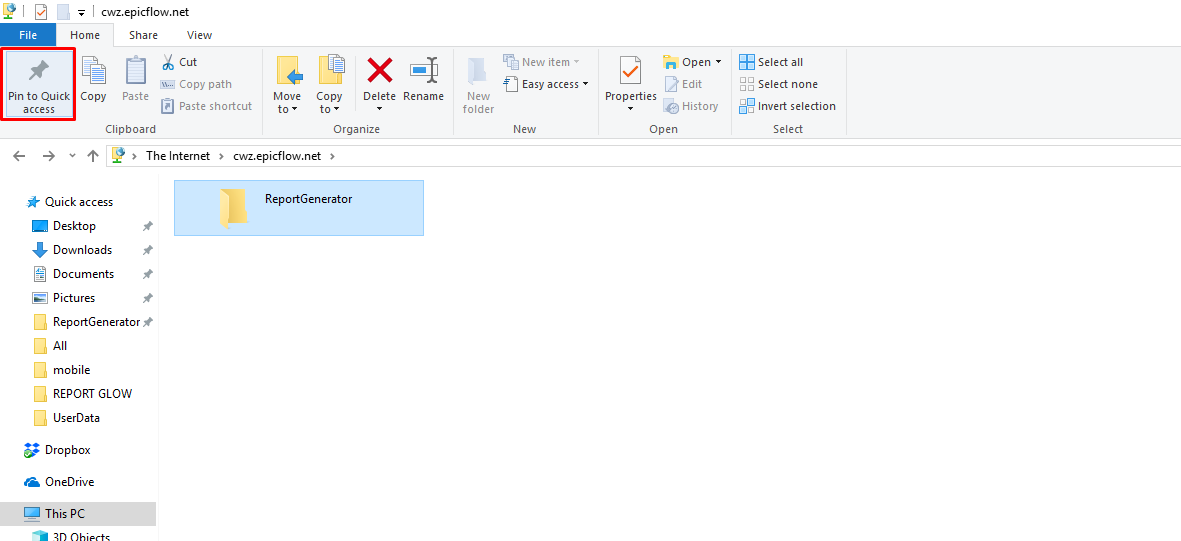
Screen #5 – Windows – Quick FTP usage
on Mac
The MacOS operating system also allows you to communicate with FTP servers directly, without the involvement of third-party software. However, the Finder functionality is limited to copying files from the FTP storage. Changing files directly on the server is not allowed.
- First thing you need to do is to hit Command+K from your Mac desktop or Finder to pull up the “Connect to Server” window (alternatively, you can access this from the “Go” menu)
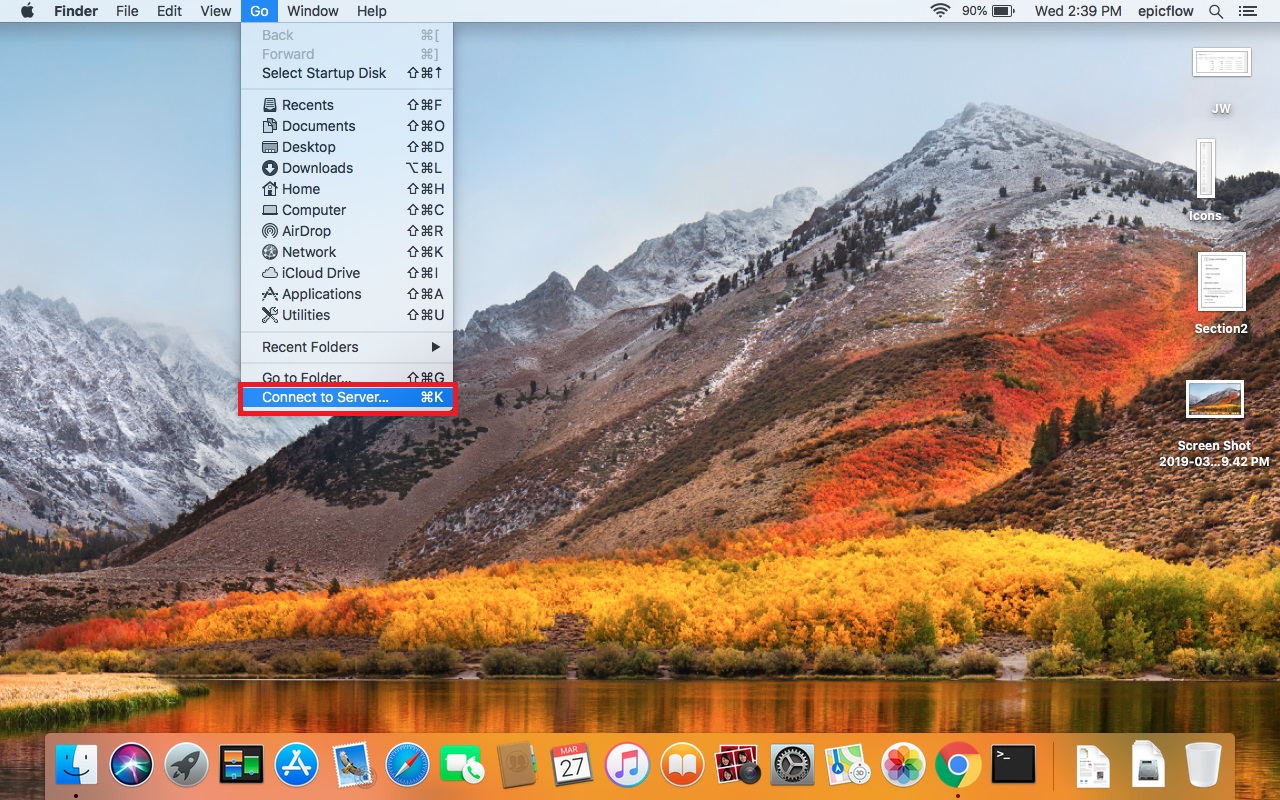
Screen #6 – Mac OS – “GO” tab
- Enter the address of the ftp server in the following format: ftp://adress:port
Click on “Connect” and wait to connect to the remote server.

Screen #7 – Mac OS – connection edit
- Enter the FTP username and password, or connect as “Guest” if the server allows guest connections and click on “Connect” again
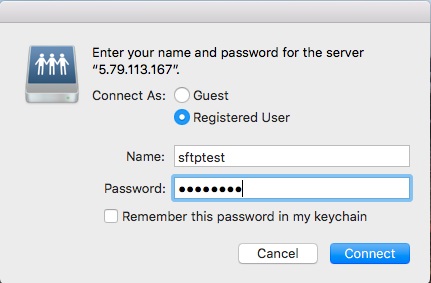
Screen #8 – Mac OS – credentials input
- If you have done everything right, you will gain access to the FTP storage.

Screen #9 – Mac OS – FTP storage
via Third Party ftp clients
To the attention of users who use the operating system Windows provided a large number of freely distributed software to work with FTP systems.
We will consider them on the example of WinSCP (freeware)
As a program for connection, as an option, you can use WinSCP or any other which you would like.
- After a simple installation of this program, you can open the main dialog box. You will be immediately prompted to create a connection to the FTP server you selected.

Screen #9 – WinSCP – main window
- Now, select your File protocol. When you are about to use FTPS protocol, select FTP and then choose one of the FTPS invocation methods.

Screen #9 – WinSCP – Selecting protocol
- Enter your host name to Host name field, username to User name field and password to Password field
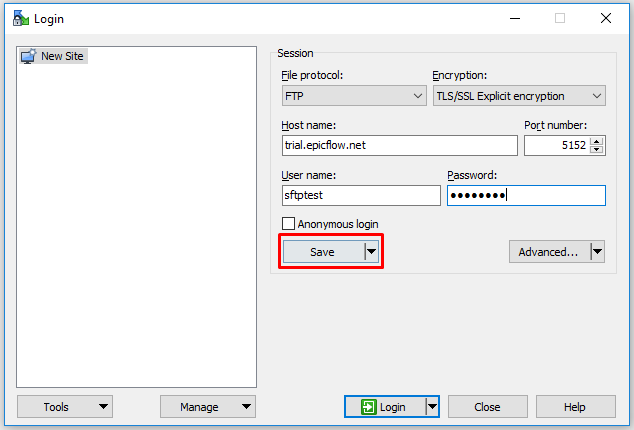
Screen #10 – WinSCP – Saving session details
- Press Login to connect.
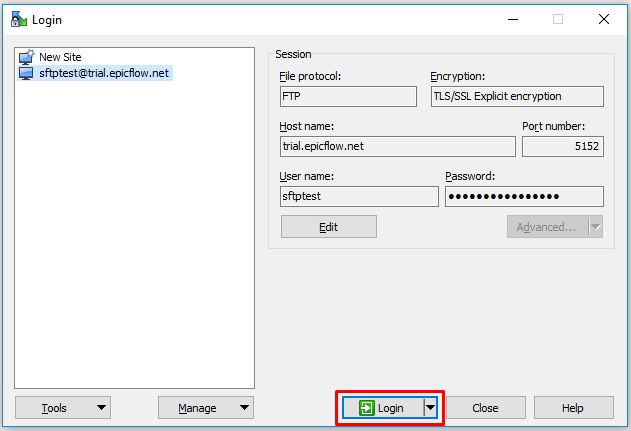
Screen #11 – WinSCP – Logging in to the FTP server
- Now, if everything is done correctly, you will get access to the necessary files.
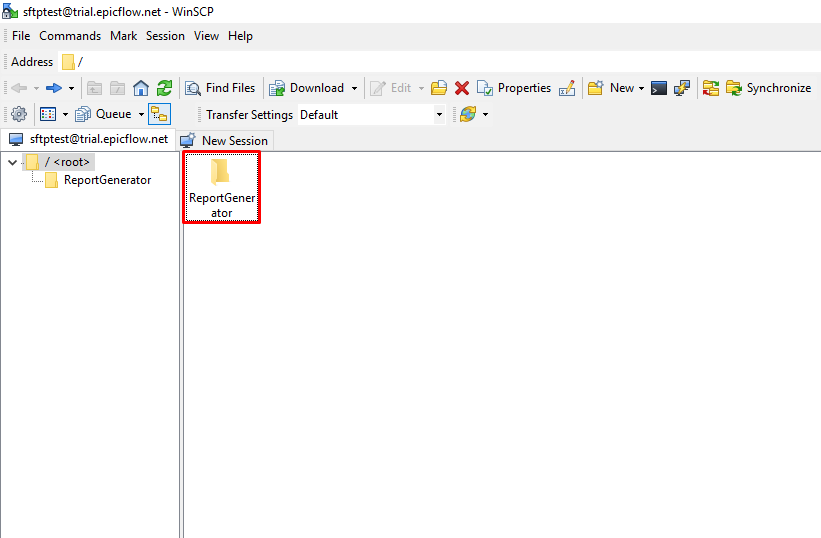
Screen #12 – WinSCP – Connection succeeded
Primary setup of the received summary report file
Having obtained the report files in any way described above, you can view a summary of the main ones. To do this, you are provided with a Report Summary File, which shows the initial analysis based on the information on the reports.
It will be stored locally in the location of your choice, and after a simple and quick setup this file will be useful to you.
Starting customization, you should choose a place for local storage of reports and a summary file at your discretion.
When you place all the files in a convenient place for you, open the Report Summary File and open the TaskList sheet.
Now you need to select the source data. To do this, go to Excel in the “Data” tab, there click on the Get Data button. In the drop-down menu, select “From File”, then “From Text / CSV”. In the window that appears, select the file “Tasklist”.

Screen #13 – Establishing new connection
In the window that appears, first open the Data Type Detection drop-down menu and select “Based on the dataset”. After, use the menu button “Load” and select “Load to”
Screen #13 – Configuring data type
After completing all the above steps, you will see a window defining the location of the imported data.
1. In the “How do you want to view this data in your workbook” you need to select the “Table” item.
2. In the “Where do you want to the data” item, select “existing worksheet” and left-click on cell A1.
3. Mark the item “Add this data to the Data Model”

Screen #14 – Final step of data import
After completing all these steps to import data into the “Task List” sheet, you need to repeat the entire algorithm step by step with respect to the “Previous Month” and “Current Month” sheets.
Perform all the necessary actions listed above, you can proceed to update the data using the Refresh button in the Data tab.
Screen #15 – Refreshing imported data