From time to time you may have similar projects by the structure. To decrease the planning time and make the process of copying elements from one project to another more comfortable, Module Library has been developed. With its help, you can easily store a set of typical summaries and tasks and use them in many projects.
Overall Overview
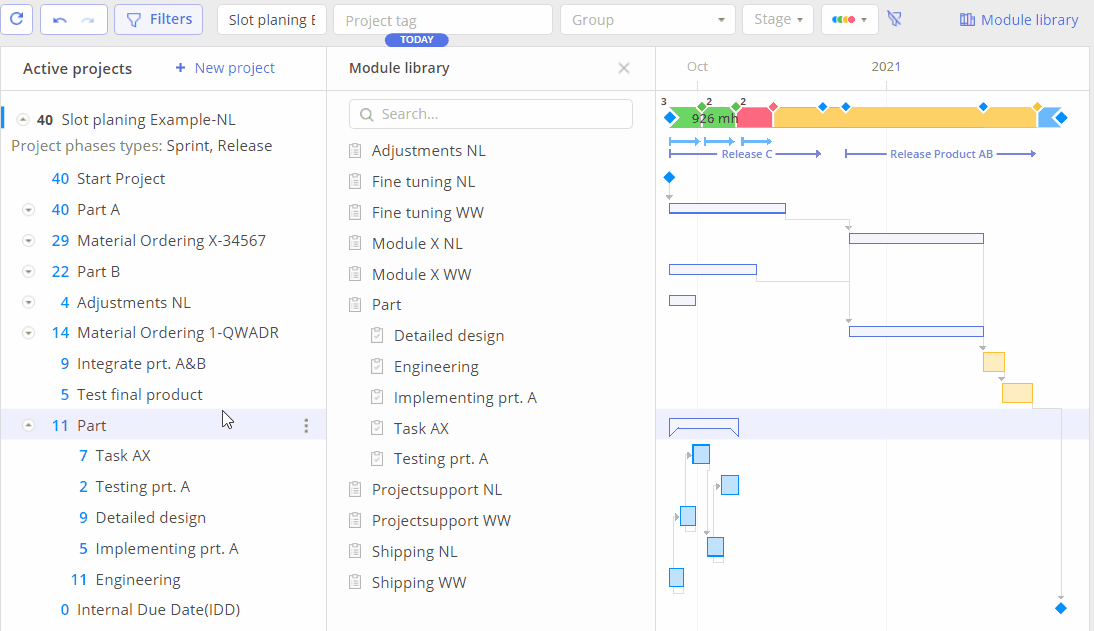
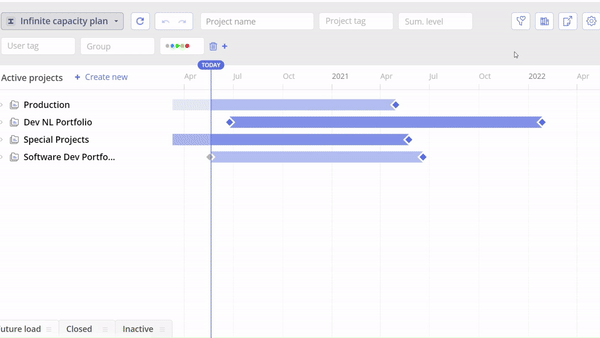
You can find Module Library in Pipeline or Quick Edit mode if you have corresponding permission for project view and management.
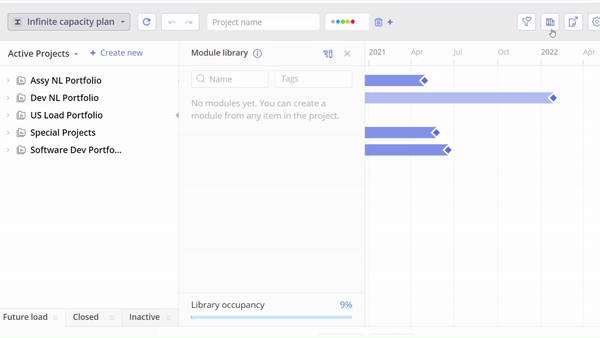
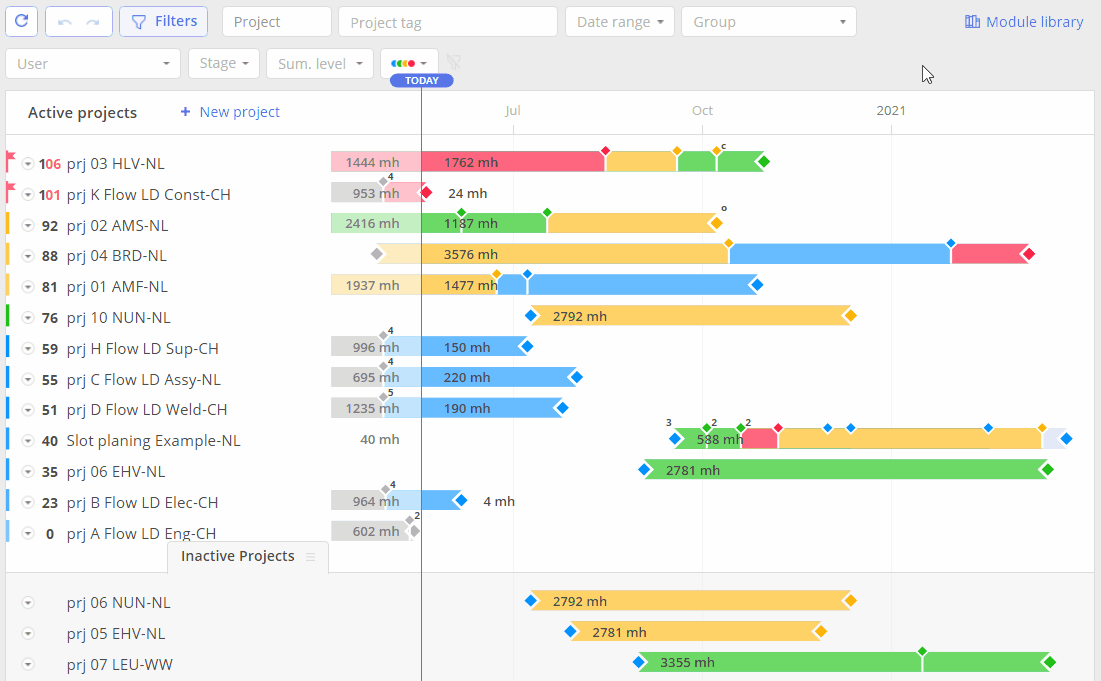 Screen #1 – Module Library – Opening
Basic Operations
By default, Module Library is empty. It’s up to a project manager to add items in it.
Adding Items
To add a new item into the library,
- Find it on the Pipeline page
- Select the “Add to module library” item from the context menu.
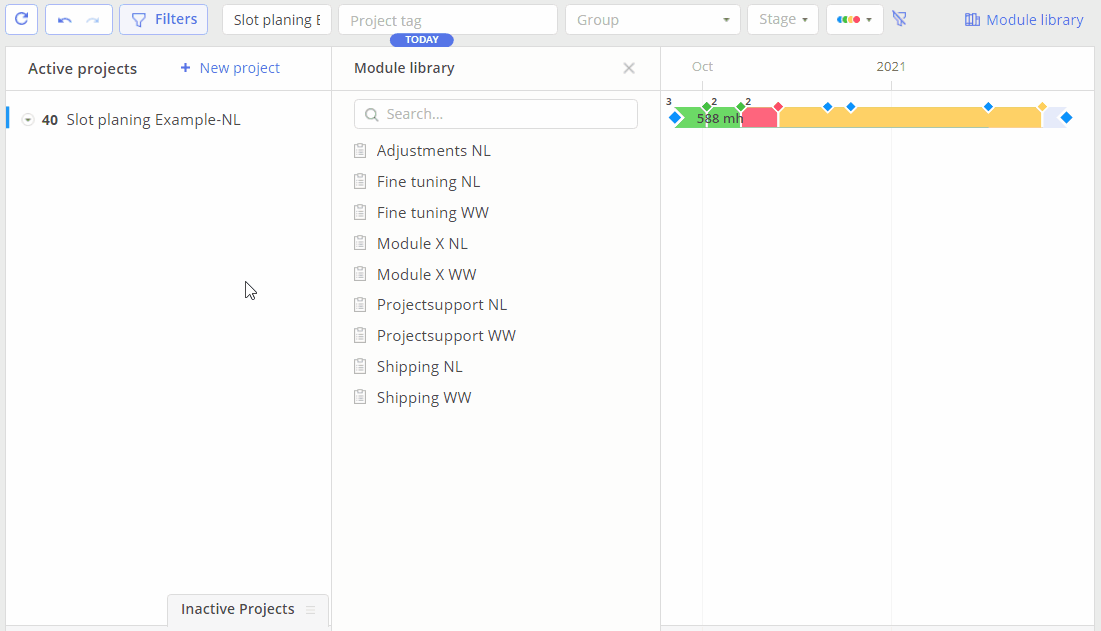
Screen #2 – Module Library – Adding a new element
Editing
You can rename any element of the Module Library by selecting the “Edit” icon located to the right of the item’s name.
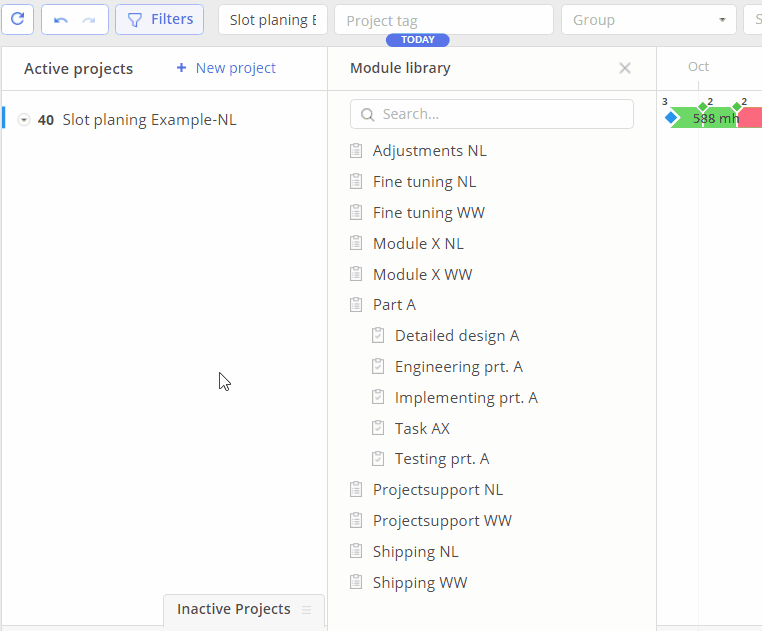
Screen #3 – Module Library – Name editing
Removing
To remove an item from the Module list, click the “Delete” icon located to the right of its name.
Screen #4 – Module Library – Items deletion
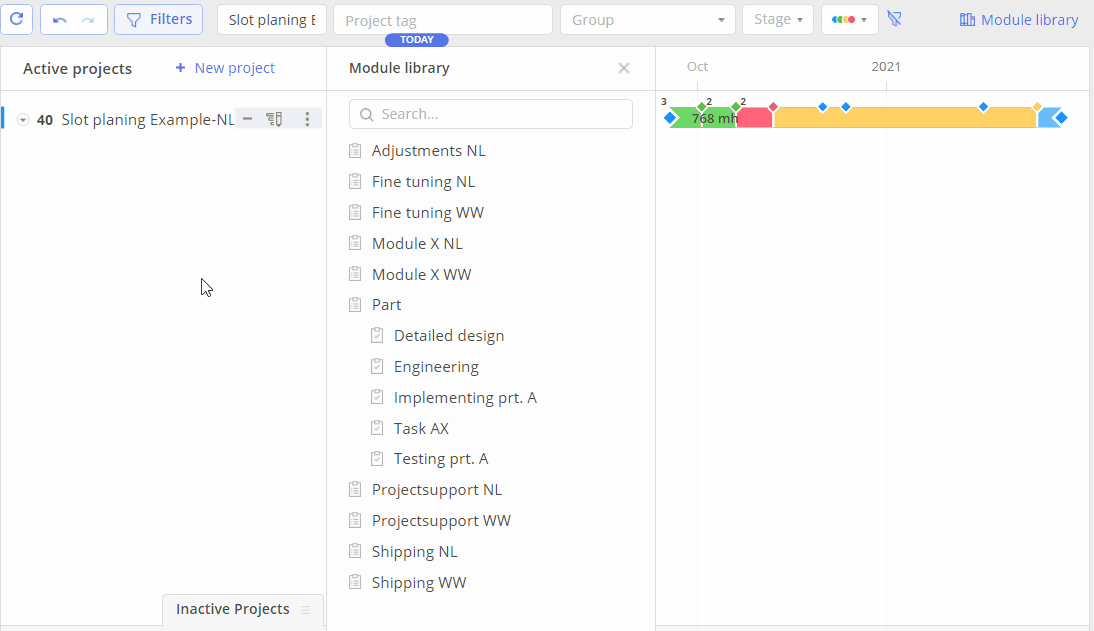
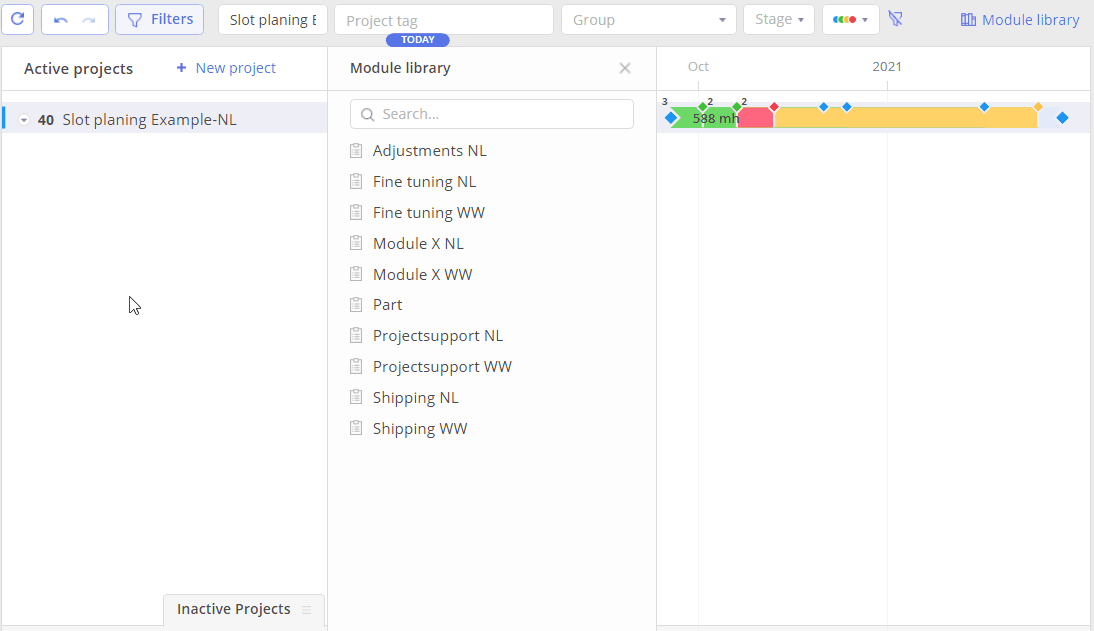
Inserting
You can add any element with drag-and-drop.
Screen #5 – Module Library – Adding elements to the project from the Module library
Multiple Module Libraries
You have the possibility to create multiple Module Libraries, which can be very useful for maintaining order in your Module Library or granting particular users access to specific parts of a Module Library by using Project Group(s) Scope permissions.
Add a Module Library
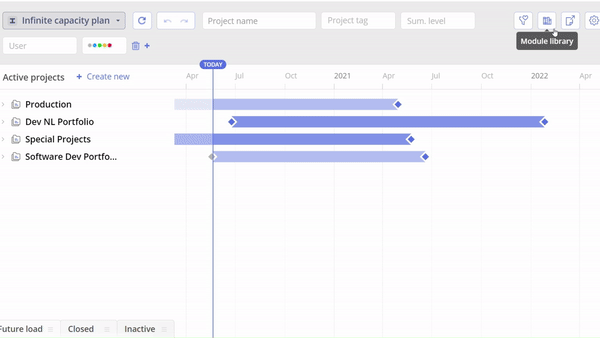
- Enable the Module Library by clicking the Module Library icon in the top right corner.
- Click on the arrow next to the Module Library Name to see the dropdown menu where you can select different Module Libraries.
- Click the “Create new” button.
- Enter a unique Module Library Name.
- Select a Project Group (Optional).
- Click the “Create” button.
Screen #6 – Add a Module Library
Switch between Module Libraries
- Enable the Module Library by clicking the Module Library icon in the top right corner.
- Click on the arrow next to the Module Library Name to see the dropdown menu where you can select different Module Libraries.
- Select the appropriate Module Library by clicking on it.
Screen #7 – Switch between the Module Libraries
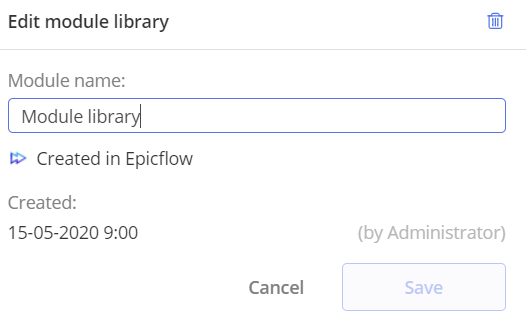
Information: When was it created and by whom?
You have the possibility to check basic information about the Module Library, such as when it was created and by whom.
- Enable the Module Library by clicking the Module Library icon in the top right corner.
- Click on the arrow next to the Module Library Name to see the dropdown menu where you can select different Module Libraries.
- Select the appropriate Module Library.
- Click on the Edit Icon
 next to the Module Library.
 - Check the information.
Screen #8 – Basic Information about the Module Library
Delete a Module Library
- Enable the Module Library by clicking the Module Library icon in the top right corner.
- Click on the arrow next to the Module Library Name to see the dropdown menu where you can select different Module Libraries.
- Select the appropriate Module Library.
- Click on the Edit Icon next to the Module Library.
- Click on the Trash icon to delete the Module Library.
- Confirm deletion by clicking ‘Yes’ in the warning pop-up.
Screen #9 – Delete the Module Library
Module Library in Quick Edit Mode
Module Library in Quick Edit Mode
It is possible to edit the Module Library using Quick Edit Mode. To access Quick Edit Mode in the Module Library, please follow the steps below:
- Navigate to the Pipeline.
- In the top right corner, click the Module Library icon.
- In the Module Library drop-down, click the QEM icon to open Quick Edit Mode.
Screen #10 – Module Library – Opening Quick Edit Mode Of the Module library
Module Library Use Limitations
Module Library with its full functionality can be used for the projects of the following types:
- Internal,
- MSP, and
- CSV.
However, there is a limitation of Module Library usage for JIRA projects, since they don’t support a hierarchy of more than 3 levels. As result, a user can only copy items from a project to the Library.
Screen #11 – Module Library – Copy-Pasting elements from the Module library into the project