Introduction
“Quick Data Editing” or “Quick Edit Mode” is a mode for fast project creation, editing and management of the project structure. It’s specially designed for Project Managers to provide an approach of fast and easy Project Planning directly in Epicflow system.
Access Quick Edit Mode
“Quick data editing” mode can be switched only for one project.
For entering in such mode you have two possibilities
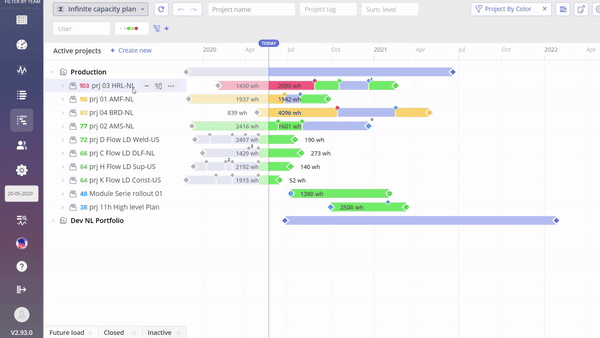
1. You can access Quick Edit Mode directly from the Pipeline
- Navigate to the Pipeline Page.
- Click on the Quick Edit Mode next to the Project Name.

Screen #1 – Quick Data Editing – Enter edit mode
2. You can access Quick Edit Mode directly from the Project Card
-
- Navigate to the Pipeline Page.
- Click on a Project Name to Access Project Card
- Click on Quick Edit Mode icon to access Quick Edit Mode of the Project.
Screen #2 – Quick Data Editing – Enter edit mode by Project Card
Overall Overview
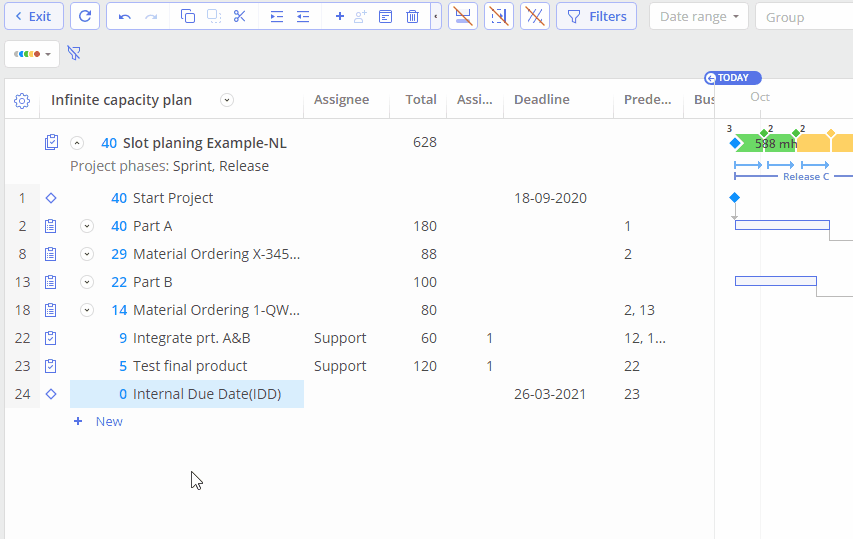
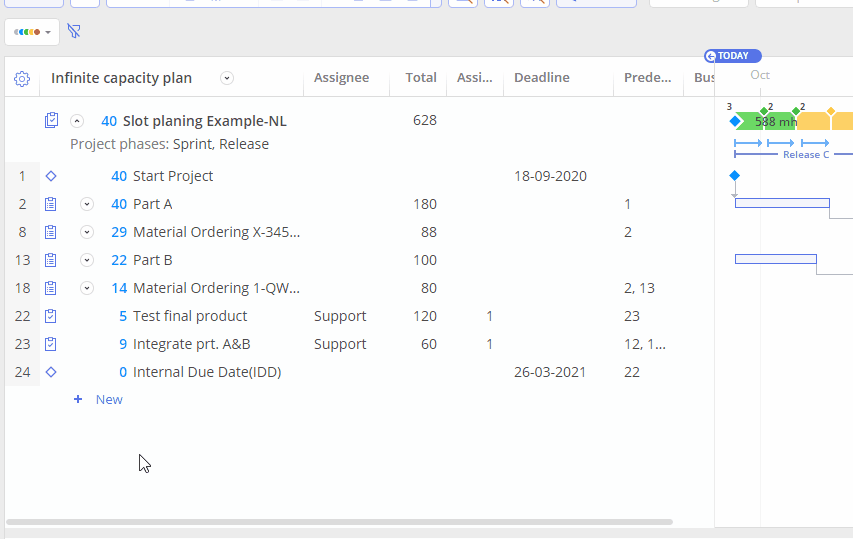
On opening “Quick data editing” mode user will be redirected to the new page which is separated at two areas: to the left summaries, tasks and milestones description is displayed and to the right from it Gantt diagram of the Project.
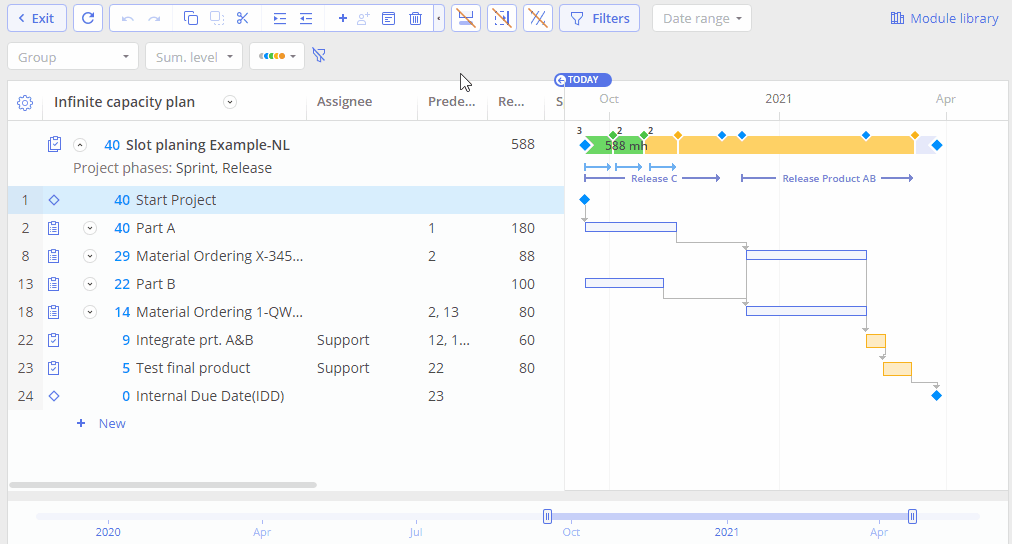
Screen #3 – Quick Data Editing – General view
At the top left corner we also have Quick menu items with defined keys combination for the fast and more convenient usage of each
Screen #4 – Quick Data Editing – Quick menu items
Undo Last Action (Ctrl + Z) – Undo last three performed actions
Redo Last Action (Ctrl + Y) – Redo last three performed actions
Copy items (Ctrl + C) – Copy Task, Milestone or Summary with whole internal structure and internal links.
Paste items (Ctrl + V) – Provides past functionality of the previously copied items.
Cut items (Ctrl + X) – Cutting out any item of the project.
Increase indent (Alt + Shift + Right) – item which is placed before the selected one will be transformed into the summary of the upper level as result on such action.
Decrease indent (Alt + Shift + Left) – items will be placed to the higher level of the project structure
Add item bellow (Shift + Enter) – adding summary task which can be converted to a Milestone or Task by specifying specific to such items type of data.
Add task assignment (Shift + Ctrl + Enter) – if you are willing to create second assignment
Open card (Ctrl + Enter) – opening Task Card
Delete item (Del) – can be used to remove item from the plan
Additionally we have next three options:
Show manual plan dates – show manual plan dates at Gantt chart for currently selected plan’s type.
Show constraint dates – show constraint dates at Gantt chart for currently selected plan’s type.
Show possible dates – show possible dates at Gantt chart for currently selected plan’s type.
For additional information about this three items please refer to next topic: Planing View Customization.
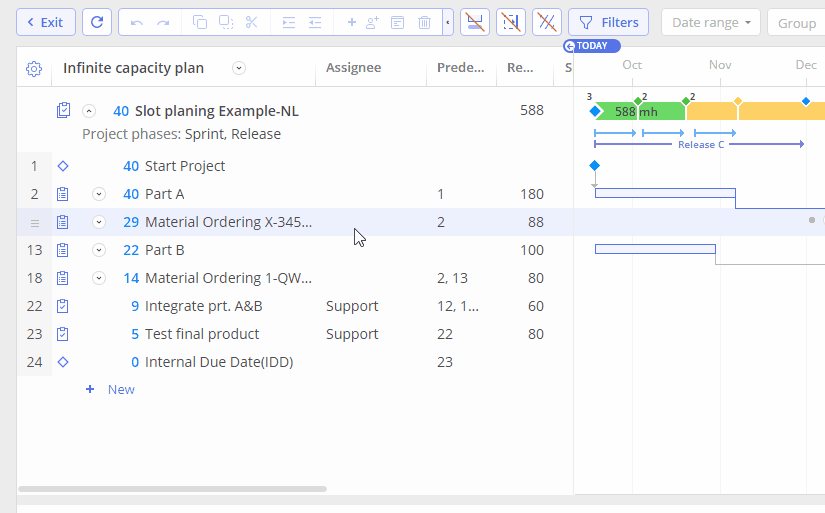
To the right from it, at the right top corner of the screen we have the same item as at the pipeline. They can be used for filtering or grouping depicted milestones, hiding unnecessary items at Gantt or refreshing depiction of such.
Also System allows to configure columns for depiction which can be used for easier project’s analysis, editing or management purposes.
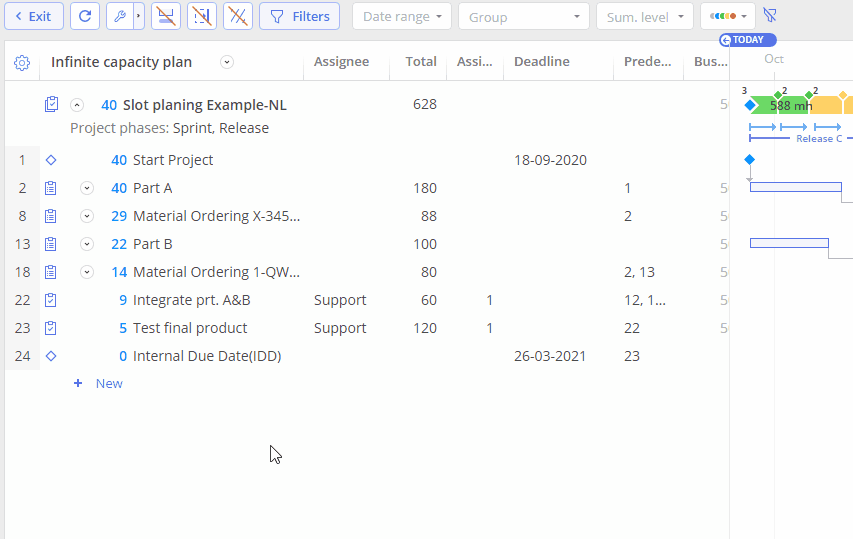
Screen #5 – Quick Data Editing – Columns
- Selection of the “Gear” icon located at the left top corner of the project’s table displays context menu with all available columns to hide/unhide or reorder of such.
- To change positioning of the column hover over your mouse cursor on its marker located to the right from column name and perform drag-and-drop operation. Please note that positioning of “Line number”, “Item info” and “Assignee” columns cannot be changed.
- With selection of “Default” option all columns are selected and reorganized in initial order.
Last item contains list of Plan types:
- Infinite capacity plan
- Manual plan
- Run Prediction (single project)
- Prediction
Adding new item
There are two ways of creating new items. The first way is to add a new item without specifying its type. This means that by default, each newly created item is treated by the system as an empty Milestone. Adjusting data in the item’s cells will automatically change the item’s type.
Add a new item without specified type:
- by short keys combination usage Shift + Enter
- by clicking +New item at the bottom of the screen.
- by selection “Add item below” from the top menu
Add a new item with specified type:
- by selection of “Add item below” by clicking on three dots next to an item and choosing a type of item.

Screen #6 a. – Quick Data Editing – Adding new item by short keys combination usage Shift + Enter
Screen #6 b. – Quick Data Editing – Adding new item by clicking +New item
Screen #6 c. – Quick Data Editing – Adding new item from top menu

Screen #6 d. – Quick Data Editing – Adding new item by clicking on three dots
Summary
Summary as a type of item which contains other elements and, as result, can be gained with next actions:
- indent increase of the item in the row next to the current one. With such approach item at the current position will be transformed into the Summary and all not related information to the Summary will be removed accordingly.
- by adding sub-items, which means creation of the new items and increasing indent for them as result.
- or by simple adding new item. By default new item is treated by the system as an empty Summary till controversial information of a different item type is defined for it.
Note that any transformation of any different item type into summary task performed only with direct request of action confirmation from the system side.
Task
Task is an item with defined Estimation and assignee which doesn’t contain any sub-items. Creation of the task can be performed with the next several approaches:
- creation of new item, as described above, and next information specifying:
- Remaining Estimation
- Assignee
In result system smoothly transforms an empty Summary into the task.

Screen #7 a. – Quick Data Editing – Adding new Task
- transform Summary or Milestone into the empty item by removing all sub-items or Deadline date accordingly and specifying Estimation with Assignee.
As an option you can add as many assignment to the task as need. For that you can use either context menu of the item or hot key combination (Shift+Ctrl+Enter)
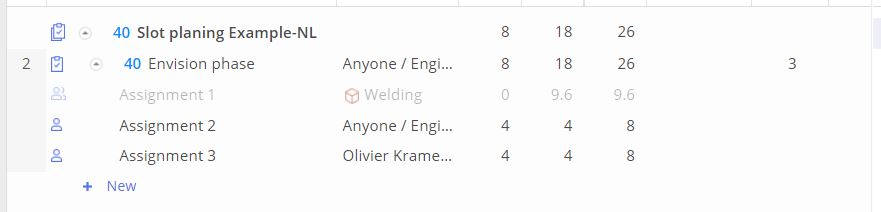
Screen #7 b. – Quick Data Editing – Adding new Task with several assignments
Milestone
Milestone is an item for which we have Deadline date specified. Creation of the Milestone can be performed with the next several approaches:
- creation of new item, as described above, and specifying Deadline date

Screen #8 – Quick Data Editing – Adding new Milestone
- transform Summary or Task into the empty item by removing all sub-items accordingly for Summary and specifying Deadline date.
Copy and Paste
System provides functionality to copy and paste items of the project. Keep in mind that copying of Summary item will be done with saving all internal connections but all external one will be erased for the copied element and must be either specified repeatedly or new one must be added.
Copying and Pasting of the item can be performed via:
- by short keys combination usage Ctrl + C for item Copy or Ctrl + V for item Paste
or
- selection of top menu appropriate item “Copy item” or “Paste item above selected” accordingly

Screen #9 – Quick Data Editing – Copy and Past items
Copying and Pasting of the assignment can be performed via:
- by short keys combination usage Ctrl + C for assignment Copy and Ctrl + V for assignment Paste: to copy assignment select row with assignment and press Ctrl + C and to paste assignment select row with appriopriate task and press Ctrl + V
Screen #10– Quick Data Editing – Copy and Paste assignment
For multiple items selection please refer to “Multiple items selection” wiki block.
Multiple items selection
Multiple items selection can be done with usage of two short cut keys: “Shift”/”Ctrl” and left mouse button click.
To perform such action hold “Ctrl” key and select items by left mouse button click over the Task ID (number in the first column to the left from the item name).
Screen #11 – Quick Data Editing – Multiple items selection
For the range selection “Shift” key must be used instead “Ctrl”.
Cut item
Cutting out item as well as Copy\Past functionality is used for Project structure refine and editing. Similarly to previous element user can performed such action either via:
- by short keys combination usage Ctrl + X
or
- selection of top menu appropriate item “Cut item”

Screen #12 – Quick Data Editing – Cut items
Delete item
Deletion of the item is performed with erasure of all sub-items, connections and specific information of the element.
In a similar way to item creation you can accomplish this actions with next several approaches:
- by short keys combination usage Delete
- by selecting icon “Delete” to the right from the current item’s name description
- or by selecting top menu appropriate item
Keep in mind that deletion of the Summary type item will be performed with erasure of all sub-items and only with direct confirmation on request from the system.
Structure Reordering
Mainly this part is about Increasing and Decreasing indent for the items of the project. Please note that transformation of the certain elements into the Summary is covered in a separate part of this wiki article. Please do not hesitate refer to it in case of need.
User can performed such action either via:
- by short keys combination usage Alt + Shift + Right and Alt + Shift + Left
or
- selection of top menu appropriate items

Screen #13 – Quick Data Editing – Increasing and Decreasing indent
View Configuration
As additional tool system provides functionality to modify set of columns for depictions and setting up their order. That helps to keep focus only over crucial elements.
Configuration of fields set can be done by left click over the “Gear” icon and next selection of required for visualization columns. Also that drop-down menu also allows to set the order of columns by drag-and-drop action.
Screen #14 – Quick Data Editing – View Configuration
View Settings
For easier use of Epicflow and planning, we have added the function of visual display of project components. In the upper right corner, you can find the settings icon. Clicking on the icon provides the ability to select one or more items to display.
You are able to display the following items:
- Auto plan dates – If infinity capacity plan is active, you’ll see manual plan dates and auto plan dates for other types of planning. Use it to compare plan;
- Constraint dates – Possibility to view specific date associated with certain constraint types, such as Must start and Must finish before;
- Possible dates – Possibility to view the period when a task can be executed regardless of the resource availability;
- Titles for items – Possibility to view the names of the items on the Gantt chart;
- Baseline deadlines – Show/hide baseline deadlines
- Spent & remaining – Possibility to view spent and remaining hours (Please make sure you hide it if you don’t want them to be included in the report or a presentation).
- Show deleted items – Enabling this option will show deleted items with spent hours.
- Customizable phases – Show/Hide the phases that aren’t included in the standard project template.
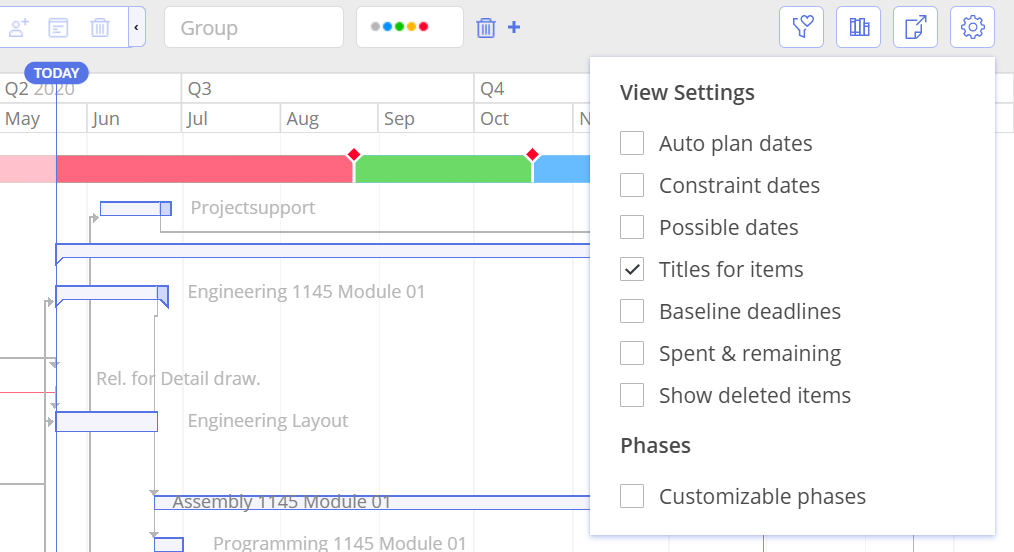
Screen #15 – Quick Data Editing – View Settings
Filtering
In Quick Edit Mode, you have the same filters as on the Pipeline page, except for Project filters. Since Quick Edit Mode is for a single project, those filters aren’t needed. Learn more in this article.