Creating a project
The basic way to create a new project is to use the “+ New Project” button on the pipeline page. After clicking the “+ New Project” button, a menu for creating a project will appear. There you can specify the name, the short name, the parent group project group, the start and end dates of this project.

Screen #1 – Creating a new project
Project setup
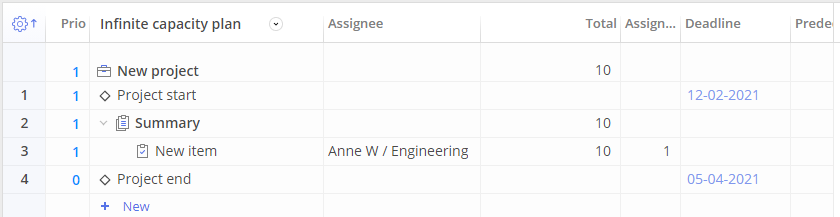
To adjust the project, after filling out the first form, the user is redirected to the “Quick edit mode” page. By default, each newly created item is treated by the system as an empty Milestone. To change the newly created item to the task you should add an assignee.
Please note that adding new items is always performed in the next row below to your current position.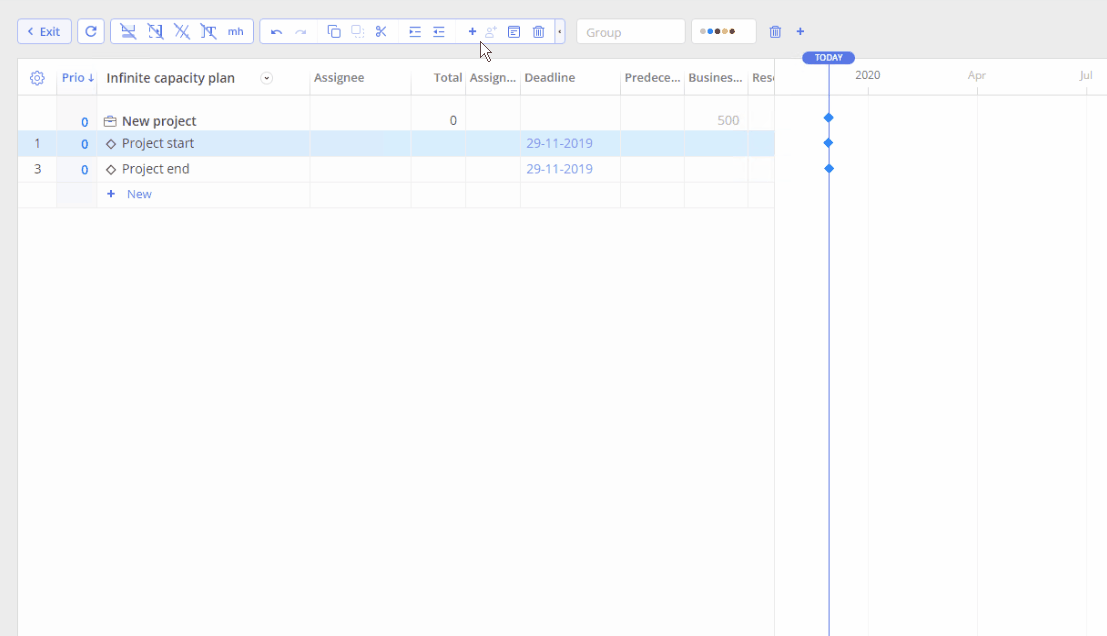
Screen #2 – Adding a new item
Phase
To create a phase, navigate to the pipeline page and open the context (“Three dots”) menu.
In the drop-down menu, select “Create Phase”. In the window that appears, select the type of the phase, its name and a time frame.

Screen #3 – Adding a new Phase
Summary
Screen #4 – New summary
A summary is an item which contains other elements and, as result, can be created with the help of the following actions:
- indent increase of the item in the row next to the current one. With such an approach, the item at the current position will be transformed into the Summary and all irrelative information will be removed accordingly.
- by adding sub-items, which means the creation of new items and increasing indent for them as a result.
Note that any transformations of any different item type into a summary task can be performed only with a direct request of the system-side action confirmation.
Task
A task is an item with the defined estimation and assignee that doesn’t contain any sub-items. A task can be created in one of the following ways:
- creating a new item as described above, specifying the following information:
- Assignee
- Remaining Estimation
As a result, the system smoothly transforms an empty Summary into the task.
Screen #5 – Adding a new Task
- transform Summary or Milestone into an empty item by removing all sub-items or Deadline date accordingly and specifying the Estimation and Assignee.
As an option, you can add as many assignments to the task as required. To that end, you can use either context menu of the item or a hotkey combination (Shift+Ctrl+Enter).
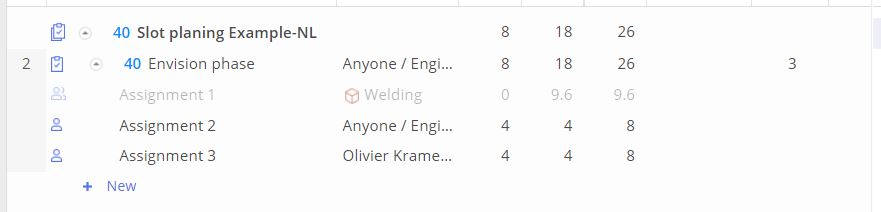
Screen #6 – Adding a new Task with several assignments
Relationships within the project
The presence of a multi-stage hierarchy does not exclude a system of relationships between project elements.
This approach ensures consistency in the planned phases of the project.
There are the following types of relationships between summary-tasks, tasks, and milestones:
- A predecessor is a task or several tasks that must be completed to start performing the selected task.
- A successor is a task or several tasks that can’t be started before the completion of the selected task.
Any summary or task can have Predecessors or Successors. The assignment of these relations can be done on the Gantt-Chart or by using card settings, such as Summary Card or Task Card.