One of Project Management and Configuration instruments, from a high-level perspective, is Project Card.
Keep in mind that you need a corresponding set of rights to work with it. For additional information please refer to the “Administration” section of Wiki.
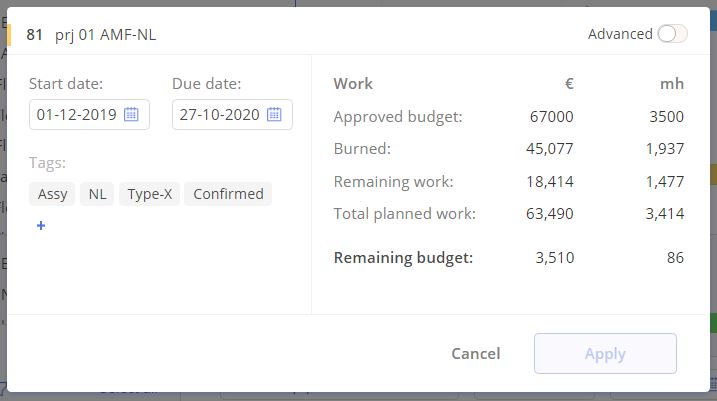
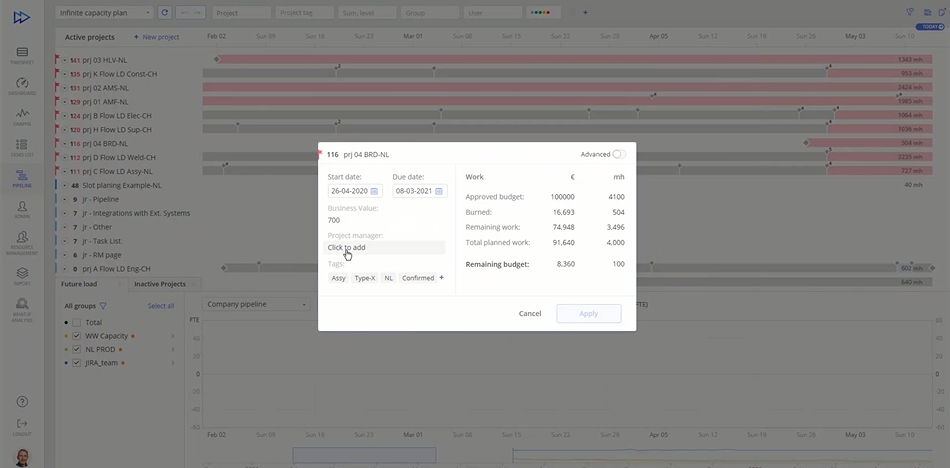
Project Card
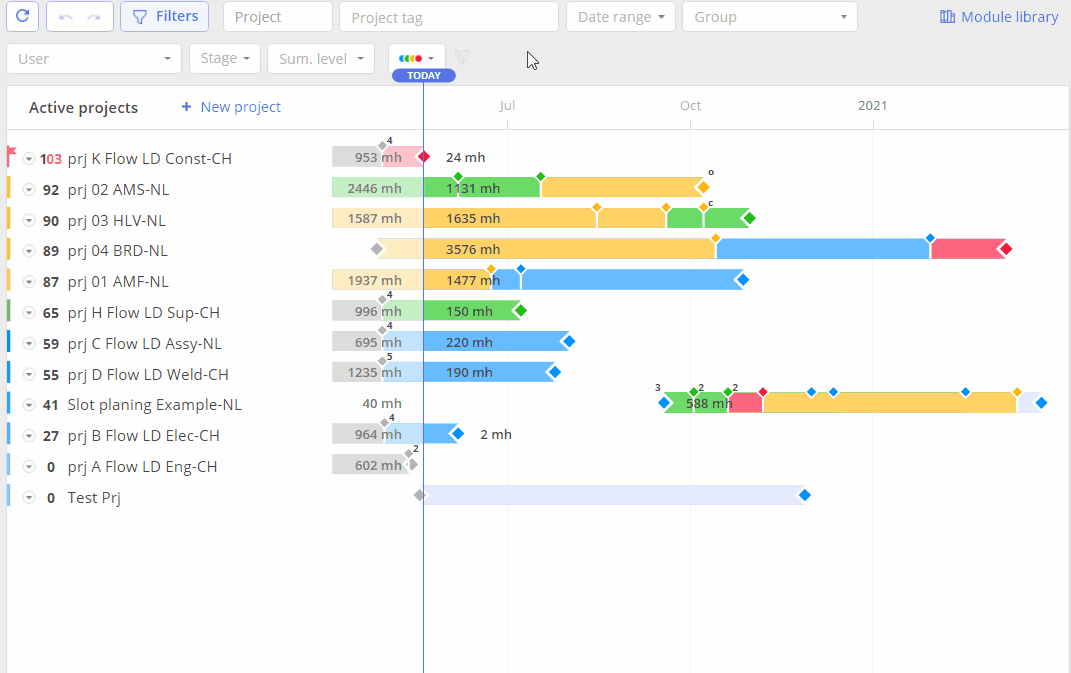
Project Card is functionality that displays all significant Project data and additional configuration of the Project itself such as its name, start date, due date, approved budget, remaining work, total expected work, and remaining budget.
Click on the Project’s name to open a Project Card.

Screen #1 – Opening Project Data
By default, only general information is displayed. Project Card is used to verify that all required initial information is added to the project. For example, if you forgot to add budget information you won’t be able to use “Burnup” and “Dashboard” instruments of the system for deeper analysis and control of the Project Flow.
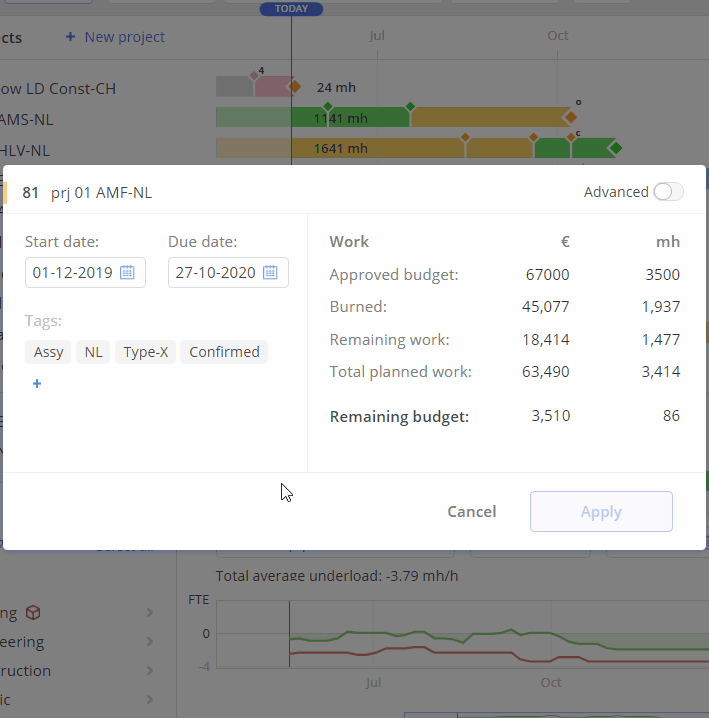
Screen #2– Project Card
- To change Start/End Project date use date-picker(s) located at the top of the window.
To review more detailed information on Project and perform its additional configuration, switch toggle “Advanced” located at the top right corner of the Window, and select a corresponding tab. It will open two additional options:
- Budget Settings
and
- Info & Buffer
Screen #3 – Project Card – Budget Settings
Budget Settings
This section is used for budget configuration. Select an “Enable budget processing” checkbox to enable it. Together with that, an identifier for the budget tasks and mark text used for it should be specified.
Info Tab
It contains only general information on a budget such as “Scheduled”, “Budgeted” fields and dates when the project was “Imported” or “Added to the pipeline”.
“Scheduled” – the amount of planned work.
“Budgeted” – the amount of work with the allocated budget.
“Imported” or “Created” – the date when the project was imported into the system or created manually in the system.
“Added to the pipeline” – the date when the project was added to the pipeline.
Screen #4 – Project Card – Info Tab
Move Project Dates
This feature allows users to shift an entire project timeline by a specified number of days within a chosen date range. When applied, all task and milestone dates with constraints are adjusted accordingly, preserving the project’s dependencies.
- Customizable Dates: Users select a date to set the shift period.
- Automatic Date Adjustment: Project dates, including tasks and milestones, are shifted to relative with the new date range.
- Refresh Requirement: After moving the dates, a quick page refresh may enhance visibility, especially when filters are applied.
- Undo: you can easily reverse the changes by clicking on the Undo Button or shifting the timeline back by the same period.

Screen #5 – Move Project Date Button
Steps to Move Project Dates
- Navigate to the Pipeline Page.
- Open the Project Card.
- Click on the Start Date or the End Date field.
- Adjust the date as needed using the date-picker.
- Once adjusted, the ‘Move’ button will appear below the date fields.
- Click on the ‘Move’ Button.
- Click on ‘Apply Changes’ Button.
Screen #6 – Move Project Dates
Project Manager
In the system, the user who has created an internal project is specified as a project manager. It’s shown in the Project Card, Task Card, and Task List in the project manager column.
Screen #7 – Checking Project Manager
Changing Project Manager
To change a project manager for a certain project, go to the project card and click on the ‘project manager’ field. Choose ‘User 1’ in the drop-down and apply the changes. Besides, you can also type a user’s name and set them as a project manager even if they’re absent in the list of users.
Screen #8 – Changing Project Manager
Project Manager from the External System
If you work with any external system, for instance, Jira or MSP, you should be aware of some specifics regarding the project manager settings in Epicflow.
If a project manager is not specified in the external system it won’t be displayed in the project card in Epicflow either. And correspondingly, if a PM is set in the external system, you can see their name in the project management field of the project card in Epicflow.
Changing PM from the External System
But even if a project manager is specified in the external system, you can change them in Epicflow. Just go to the project card, choose the project management field, choose another user, and apply the changes.
Adding a New Project
You can create internal projects in Epicflow and add them to your project portfolio. Such a project will exist in Epicflow and won’t be connected to any external system.
Create a New Project
- Navigate to the Pipeline and press the “Create new” button.
- From the dropdown menu, select “Create Project.”
- Enter the Project Name (required).
- Select the Parent project group (optional).
- Enter a short name (optional).
- Select the start and due date (optional).
- Press “Create” button.
Right after you create a project, you’ll be moved to Quick Edit Mode, where you can start to create additional items.
 Screen #9 – Creating a Project Through the Pipeline Page
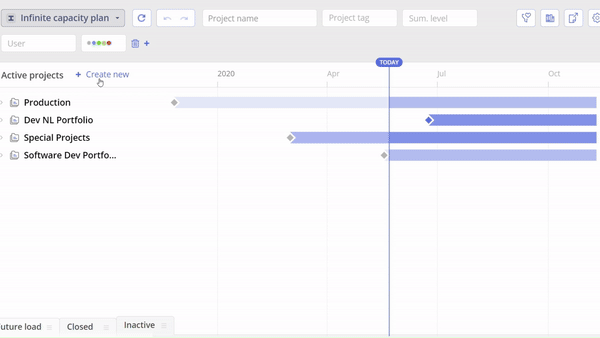
Move Project To Active Tab
- Navigate to the Pipeline page.
- Enable the Inactive tab.
- Click on the three dots next to the project name.
- Select Move to Active.
 Screen #10– Move a Project to Active Tab
Putting a Project on Hold
If you need to put a Project on pause, which means that all work on it will be stopped for some time, transfer the Project into the “Inactive Projects” area.
To transfer Project(s) to the “Inactive Projects” area, click on its/their name(s) and drag-and-drop to transfer it/them to the “Inactive Projects” area.
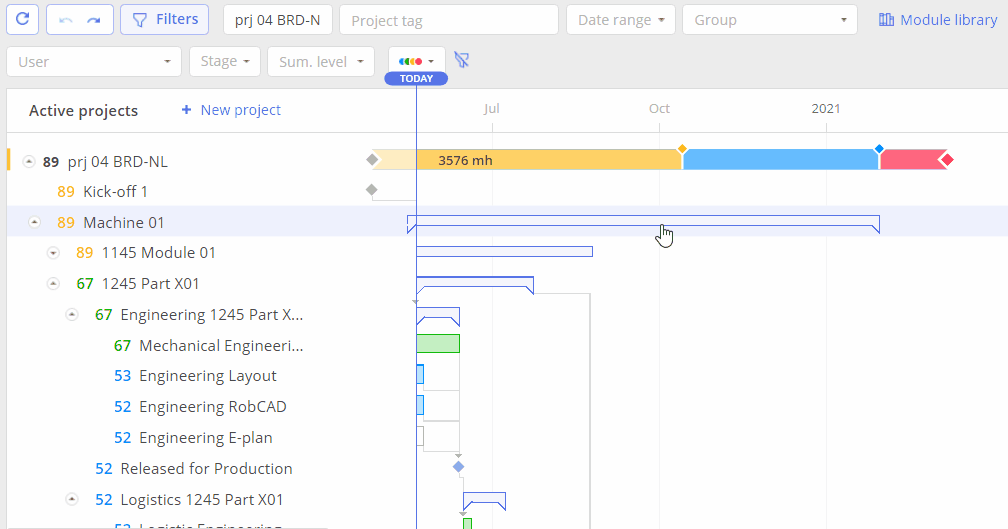
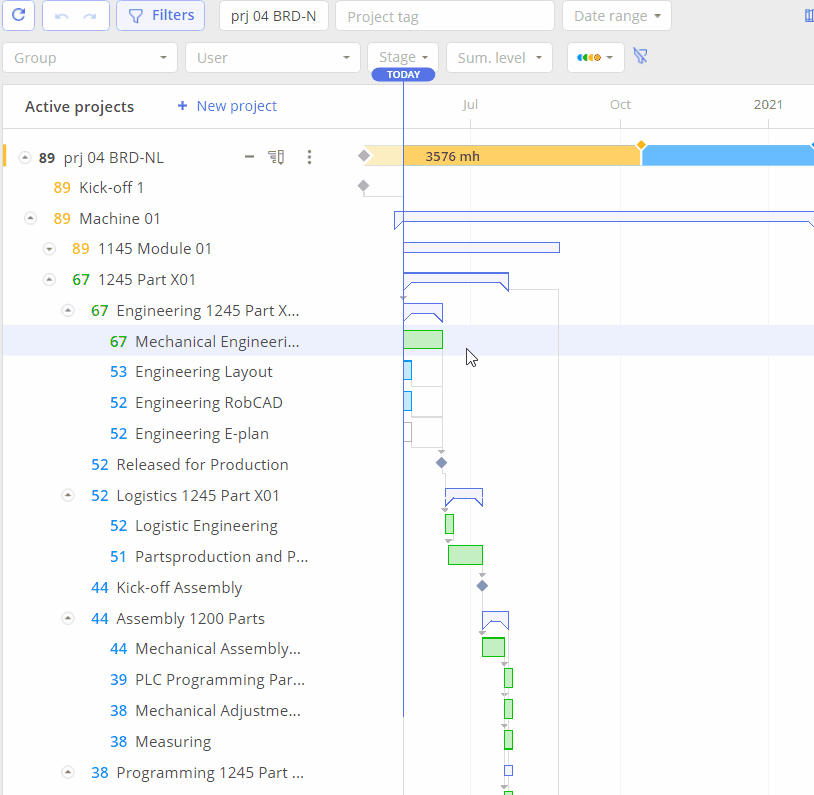
Magnetize a Project
This function allows you to easily zoom in or out without needing to use the time slider, ensuring the entire item is fully visible on the screen. It can be accessed via the three-dot menu located next to the project or item name. This feature works for both entire projects and individual items within a project.
Screen #11– Magnetize the Project
Closing Project
To close a project, click on the three dots next to the project name and choose the ‘Close Project’ option. A warning message will then appear, providing information about when the project will be archived and fully deleted from the system.
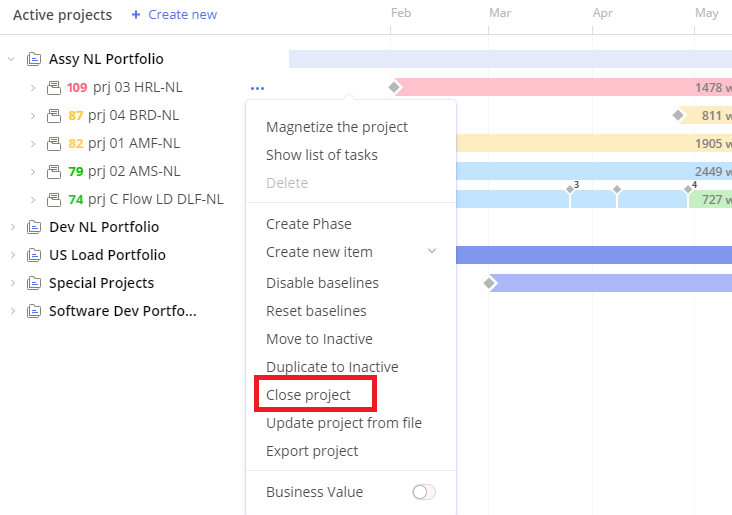 Screen #12 – Close a project

Screen #13 – Warning before closing a project
As you can see, the warning displays information regarding the archived date and deletion date. After a project is closed and moved to the ‘Closed’ tab, you are still able to view this information. Here is where:
- Deletion Date: This will be simply displayed in the project card and is editable.
- Archive Date: To view this information you must close the project from the active projects area. Such projects will be included in reports, along with their respective Archive Date information.
The difference between a closed project and an archived project:
- Closed Project: Tasks from this project remain visible on task lists, timesheets, and are exported to reports. Additionally, the project is visible on the Dashboard and included in all graphs.
- Archived Project: The project disappears from the Dashboard and BurnUp graph. Additionally, tasks associated with this project disappear from Timesheets, Task Lists and exported reports. Nevertheless, you can still view these tasks in the Pipeline by expanding the project within the ‘Closed’ tab or using Quick Edit Mode.
Resuming a Project
If you want to undo the closure of a project and resume work on it, simply click on the three dots next to the project in the ‘Closed’ tab to undo the closure; it will be moved to an inactive tab.
If you want to restart the Paused Project and resume the work on it, just move the Project back to the “Active Projects” area.
To add an Inactive Project to the “Active Projects” area, click on its name and drag-and-drop it to the “Active Projects” area.
Deleting a Project
To delete a Project from the system, do the following actions:
- transfer a Project to the “Inactive Projects” area;
- hover over the “Three dots” menu located to the right of the Project name;
- click on the appeared “Delete” button;
- confirm the action.
Screen #14 – Pipeline – Deleting a Project
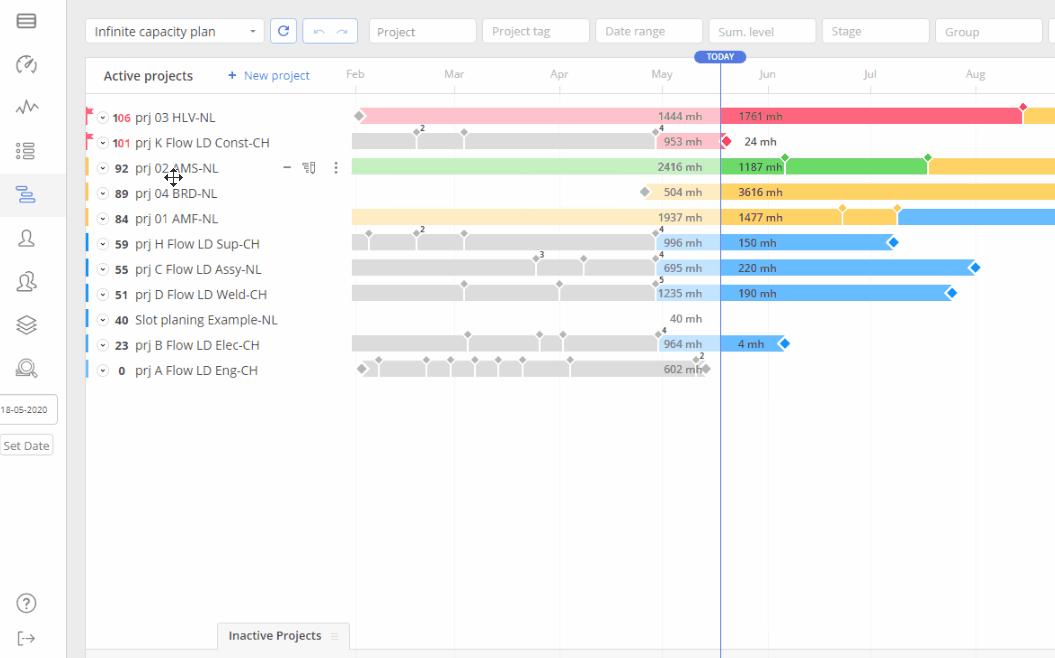
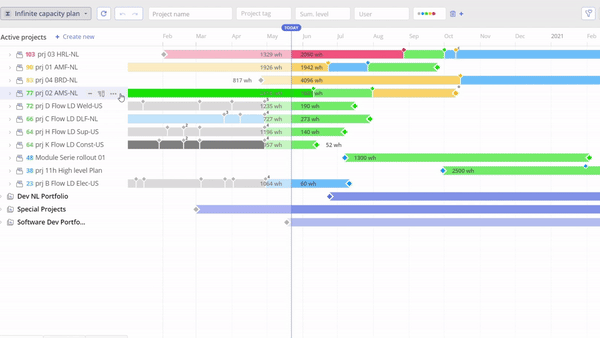
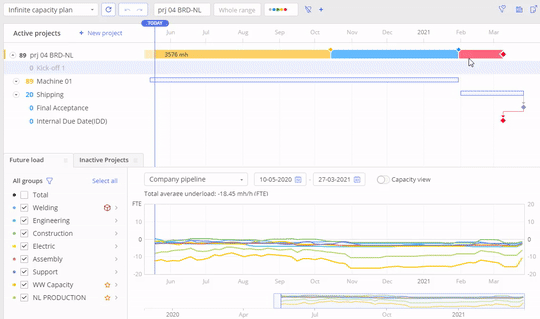
Filter Parameters
You can use project filters at the Pipeline page. It provides an opportunity to focus on what’s important for you at the very moment, which saves your time for searching for necessary data.

Screen #15 – Pipeline – Filter List
A list of filters is configurable for each user. However, you can revert it back to default configuration by selecting the Default option in the “Filters” list.
Screen #16– Pipeline – Filter List Configuration
The filter list is divided into several groups:
- Project filters – items that allow applying different parameters to filter out projects themselves.
- Item filters – for filtering items at the Gantt chart.
- Color – for filtering segments with different priorities.
Project filters:
- Priority – can be applied with one of the following conditions to filter out projects by priority:
- Equal
- Less than or equal, and
- Greater than or equal.
- Project – when typing a project’s name, the system provides a list of all names that correspond to the search criteria. You can select a necessary one from the list.
- Project Manager is a parameter from the Project Card which is set during project creation or import. It defines the creator/manager of the project. For internal projects, this parameter is defined as the name of the user who has created it. For MS projects, it can be reconfigured in the MS Project file itself.
- A project tag is an instrument of project grouping from the Project Card. You can use it, for example, to define regions or Confirmed/Paused projects, or Projects from the specific technology area.

Item Filters
- Text filter – filtering in the list of Tasks, Summaries, and Milestones.
- Date range – filtering out all visible items at Gantt chart according to the following three parameters:
- Show all
- Selected by date range – only the tasks which are in the scope of the defined date range will be displayed. The date range is defined by the range from the “Future Load” frame displayed at the bottom of the screen. (At filter usage you can observe change of a certain bars colors. The reason for that is next:
Ranges and Critical chains with the Milestones\Tasks\Summaries are cut off from your current depiction\view. As result only those which are at current range are visible. Note that the displayed range can be seen on the Future Load calendar.)
Screen #18– Pipeline – Date range Filters
-
- Last 14 days plus future – only the tasks which fall into the date range starting 14 calendars days before today will be displayed.
- Group – filtering out items at the Gantt chart by the assigned Resource Groups.
- User – filtering out items at the Gantt chart by the assigned Resources.
- Stage – defines a filter parameter by the Task stage.
- Tag – In a similar way to Project tags, this tag is applicable for the tasks themselves. It can be set from the Task Card.
- Summary level – it expands and collapses summaries of corresponding levels at the Gantt chart of the selected projects.
General Filters
- Color – it filters Projects and items at the Gantt chart according to the selected color. Note that in addition to the selected color all higher constraint colors will be displayed as well.
Screen #19 – Pipeline – Applying Filters
Undo/Redo and Refresh
By default, you can revert 3 recently performed changes at the Pipeline page. Please, note that the Deletion of the Project is irreversible.
Screen #20 – Pipeline – Undo/Redo
Another useful option is “Refresh and reorder by priority” which makes it possible to reorder Project items at Gantt chart automatically. It’s especially handy when you create new items or adjust links.
Screen #21 – Pipeline – Refreshing and Reordering by Priority
Last Synchronization Date
You can check the date of the last synchronization between Epicflow and the external system. This information is available in Project Card. just go to the Info & Buffer tab to see the necessary information.

Screen #22 – Project card the last date of synchronization