Preparation
At Server side, where Primavera will be installed, you would need to install Java JDK (Java Runtime Environmen) and JRE (Software Development Kit for Java).
JDK and JRE installation
- For that Please visit site https://www.oracle.com/downloads/index.html and download latest appropriate version of JDK and JRE for your system.
- Un-Install Older Version(s) of JDK/JRE
We recommend to have installed only the latest JDK. You can have installed multiple versions of JDK/JRE concurrently but it will be messy.
If you have installed older version(s) of JDK/JRE at your server, un-install ALL of them. For that goto “Control Panel” ⇒ “Programs” ⇒ “Programs and Features” ⇒ Un-install programs begin with “Java”, such as “Java SE Development Kit …”, “Java SE Runtime …”, “Java X Update …”, and etc.
- Run the downloaded installer (e.g., “jre-8u{x}-windows-x64.exe
“), which installs both the JDK and JRE.
By default:
- JDK is installed in directory “
C:\Program Files\Java\jdk 1.8.0_{x}“, where{x}denotes the upgrade number; and - JRE is installed in “
C:\Program Files\Java\jre-1.8.0_{x}“.
Accept the defaults and follow the screen instructions to install JDK and JRE.
Screen #1 – JDK and JRE installation
Screen #2 – JDK and JRE installation
Screen #3 – JDK and JRE installation
Use the “File Explorer”, goto "C:\Program Files\Java" to inspect these folders. Take note of your JDK installed directory, in particular, the varying upgrade number, which you will need in the next step.
In the following diagram, the JDK installed directory is “C:\Program Files\Java\jdk-1.8.0“, where {x}=1. I shall refer to the JDK installed directory as <JAVA_HOME>, hereafter, in this article.
As soon Java installed
- Include JDK’s “bin” Directory in the PATH
Windows’ Shell searches the current directory and the directories listed in the PATH environment variable (system variable) for executable programs. JDK’s programs (such as Java compiler javac.exe and Java runtime java.exe) reside in the sub-directory “bin” of the JDK installed directory. You need to include “bin” in the PATH to run the JDK programs.
To edit the PATH environment variable in Windows 7/8/10:
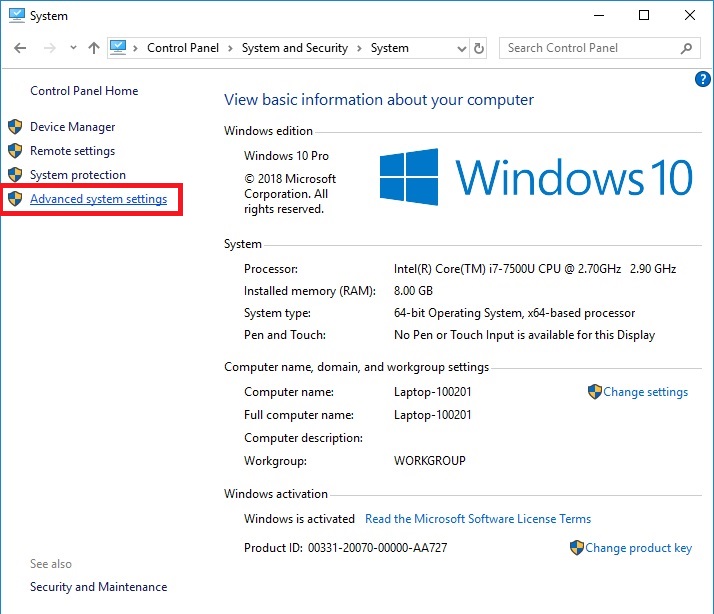
- Launch “Control Panel” ⇒ (Optional) System and Security ⇒ System ⇒ Click “Advanced system settings” on the left pane.

Screen #4 – Control Panel
Screen #5 – Windows System management window
- Switch to “Advanced” tab ⇒ Push “Environment Variables” button.
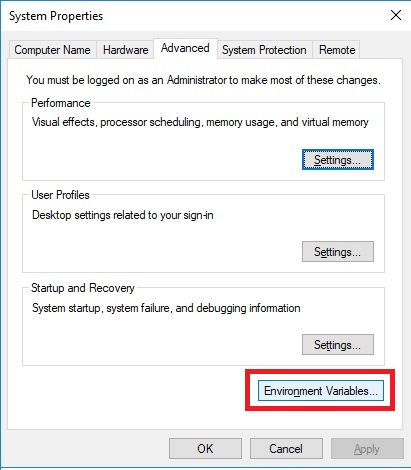
Screen #6 – System Properties
- Under “System Variables” (the bottom pane), scroll down to select “Path” ⇒ Click “Edit…”.
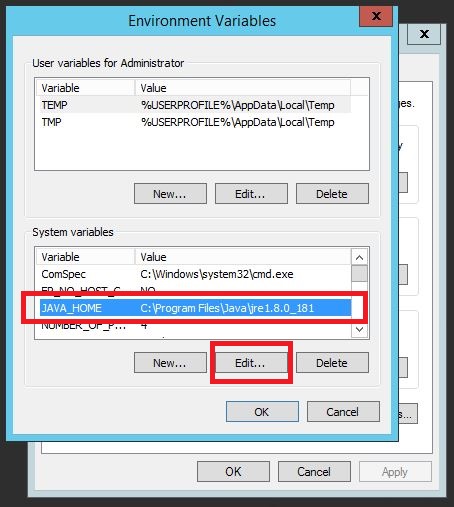
Screen #7 – Environment Variables
- For Windows 10 (newer releases):
You shall see a TABLE listing all the existing PATH entries (if not, goto next step). Click “New” ⇒ Enter the JDK’s “bin” directory “c:\Program Files\Java\jdk-1.8.0_{x}\bin” (Replace{x}with your installation number!!!) ⇒ Select “Move Up” to move this entry all the way to the TOP.Prior to newer Windows 10:
(CAUTION: Read this paragraph 3 times before doing this step! Don’t push “Apply” or “OK” until you are 101% sure. There is no UNDO!!!)
(To be SAFE, copy the content of the “Variable value” to Notepad before changing it!!!)
In “Variable value” field, INSERT “c:\Program Files\Java\jdk-1.8.0_{x}\bin” (Replace{x}with your installation number!!!) IN FRONT of all the existing directories, followed by a semi-colon (;) which separates the JDK’s bin directory from the rest of the existing directories. DO NOT DELETE any existing entries; otherwise, some existing applications may not run.
- Verify the JDK Installation
Launch a CMD shell via one of the following means:
- Click “Search” button ⇒ Enter “cmd” ⇒ Choose “Command Prompt”, or
- right-click “Start” button ⇒ run… ⇒ enter “cmd”, or
- (Prior to Windows 10) click “Start” button ⇒ All Programs ⇒ Accessories (or Windows System) ⇒ Command Prompt, or
- (Windows 10) click “Start” button ⇒ Windows System ⇒ Command Prompt.
Issue the following commands to verify your JDK installation:
- Issue “
path” command to list the contents of thePATHenvironment variable. Check to make sure that your<JAVA_HOME>\binis listed in thePATH.
Don’t typeprompt>, which denotes the command prompt!!! Key in the command (highlighted) only.
- Issue the following commands to verify that JDK/JRE are properly installed and display their version:
Firewall configuration for MS SQL
This chapter describes how to configure the Windows firewall, but the basic principles applicable to other firewall programs as well.
To access an instance of the SQL Server through a firewall, you must configure the firewall on the computer that is running SQL Server.
Firewall systems help prevent unauthorized access to computer resources. If a firewall is turned on but not correctly configured, attempts to connect to SQL Server might be blocked.
- Configure the Windows Firewall settings with either Microsoft Management Console (MMC) or netsh.
- The Windows Firewall with Advanced Security MMC snap-in lets you configure more advanced firewall settings. This snap-in presents most of the firewall options in an easy-to-use manner, and presents all firewall profiles
- The netsh.exe tool can be used by an administrator to configure and monitor Windows-based computers at a command prompt or using a batch file. By using the netsh tool, you can direct the context commands you enter to the appropriate helper, and the helper then performs the command. A helper is a Dynamic Link Library (.dll) file that extends the functionality of the netsh tool by providing configuration, monitoring, and support for one or more services, utilities, or protocols. All operating systems that support SQL Server have a firewall helper. Windows Server 2008 also has an advanced firewall helper called advfirewall. This chapter doesn’t cover all details of using netsh but, you may use it next way to open all required ports:
A similar example using the Windows Firewall for Advanced Security helper:
- Open TCP ports 1433, 1434 , 443 and UDP 1434 if required.
Port 1433 is (SQL Server default instance running over TCP) the most common port allowed through the firewall. It applies to routine connections to the default installation of the Database Engine, or a named instance that is the only instance running on the computer.
Port 1434 is (Dedicated Admin Connection) used for remote connections to the Dedicated Administrator Connection (DAC) but by default is not enabled. To enable remote DAC, use the Surface Area Configuration facet.
UDP Port 1434 (SQL Server Browser service) is SQL Server Browser service listens for incoming connections to a named instance and provides the client the TCP port number that corresponds to that named instance. Normally the SQL Server Browser service is started whenever named instances of the Database Engine are used. The SQL Server Browser service does not have to be started if the client is configured to connect to the specific port of the named instance.
TCP port 443 (SQL Server default instance running over an HTTPS endpoint.) is used for an HTTPS connection through a URL. HTTPS is an HTTP connection that uses secure sockets layer (SSL)
MS SQL Server Installation
As a second step you would need to proceed with installation of your MS SQL Server.
- From the root folder, double-click Setup.exe. To install from a network share, locate the root folder on the share, and then double-click Setup.exe. Proceed with the SQL installation.
- The Installation Wizard runs the SQL Server Installation Center. To create a new installation of SQL Server, select the Installation option on the left side, and then click New SQL Server stand-alone installation or add features to an existing installation

Screen #8 – SQL Server Installation Center
- In the License Terms window, tick the box I accept the license terms and then click Next to continue
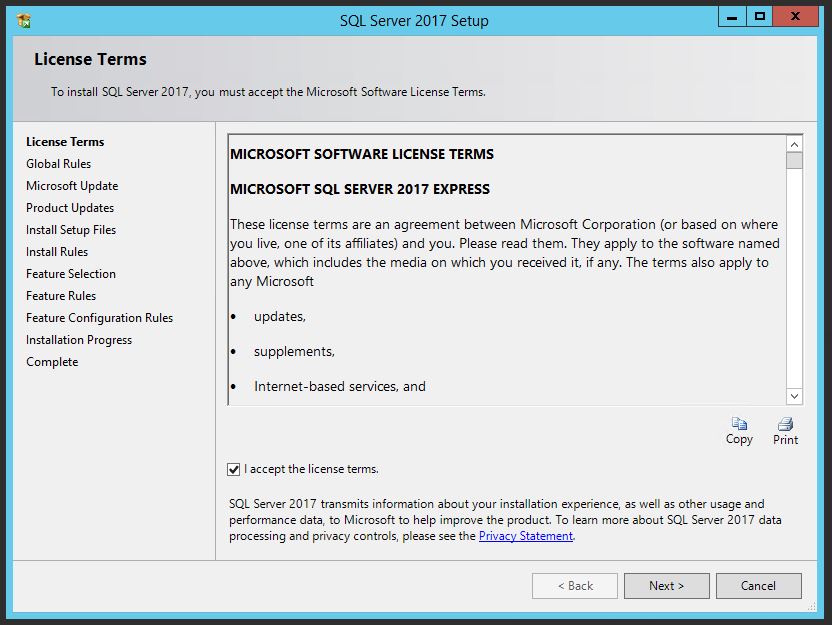
Screen #9 – SQL Server Setup- License Agreement
You must accept the license agreement before you can continue the installation of SQL Server. Use Microsoft Update to check for updates is optional but we recommend to select it.
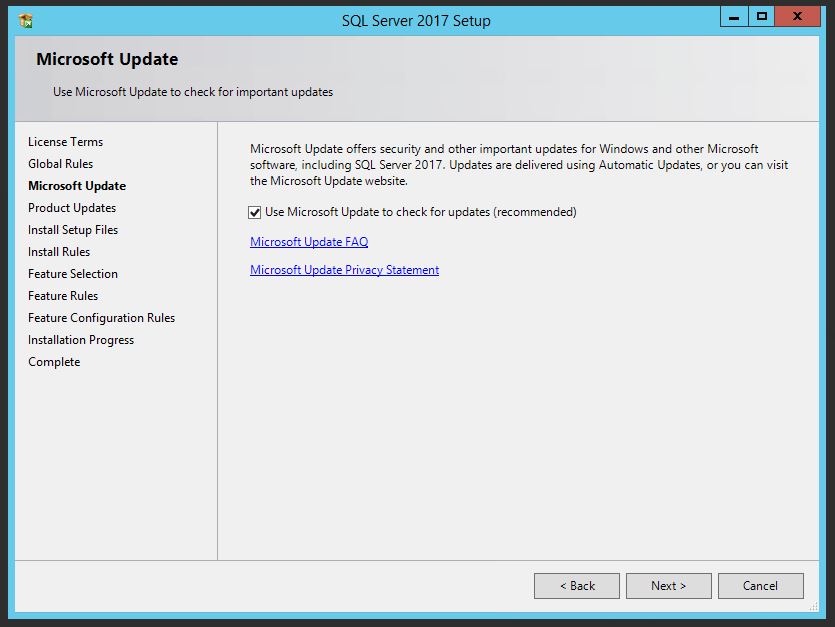
Screen #10 – SQL Server Setup configuration
- Allow SQL to scan for important product updates and install them prior to any further action.
Setup Support Rules will run to identify problems that may occur during the Setup Support Files installation
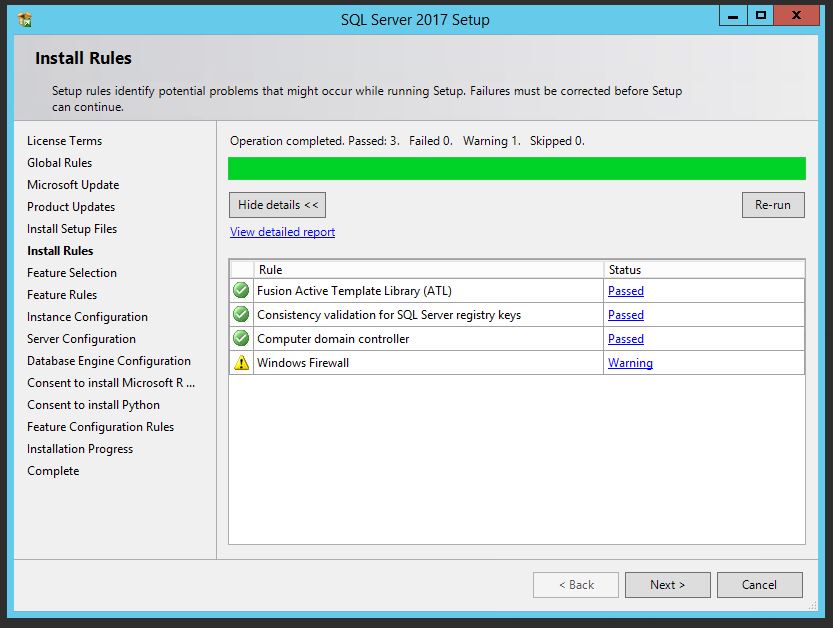
Screen #11 – SQL Server Setup – Install Rules
Usually you may have next Warning message to appear.
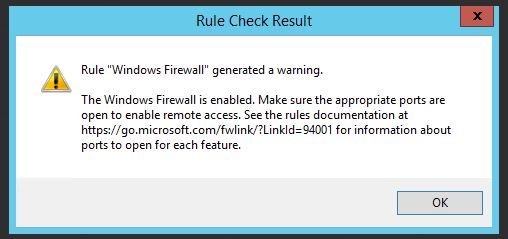
Screen #12 – SQL Server Setup – Rule Check Warning message
To work it out please refer to the section of wiki document “Firewall configuration for MS SQL”. Take any remedy action and press Re-scan.
- Select the following features for installation: Database Engine Services, Management Tools – Basic, Management Tools – Complete.You can also specify the shared feature directory where share features components will be installed.
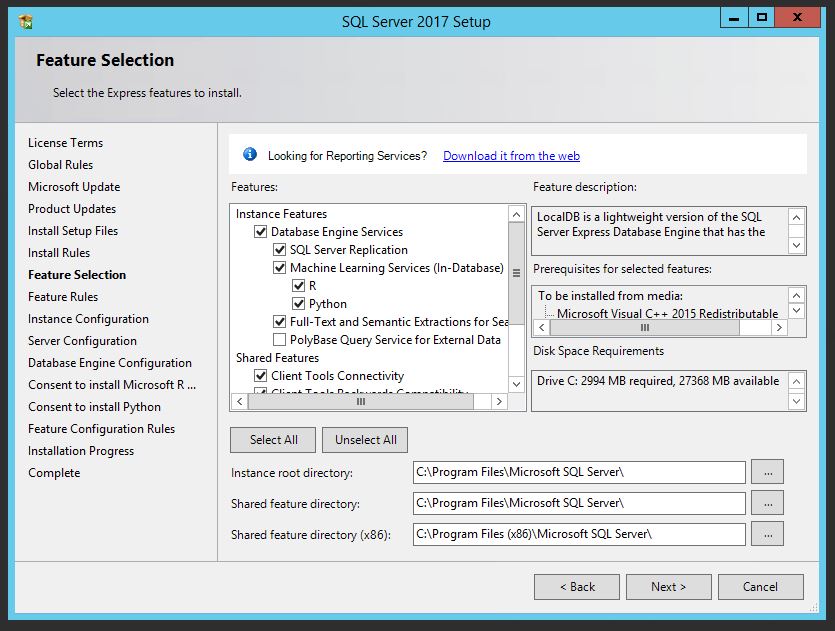
Screen #13 – SQL Server Setup – Feature Selection for installation
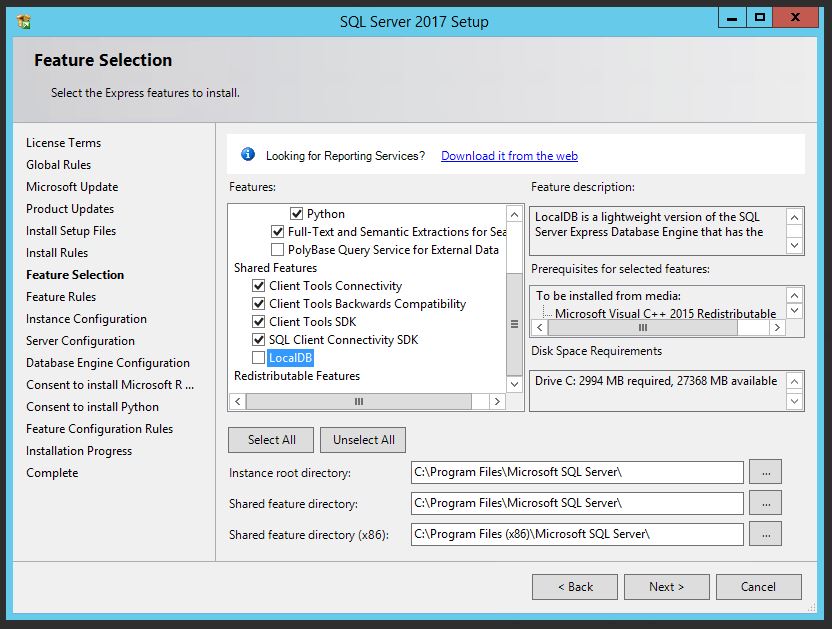
Screen #14 – SQL Server Setup- Feature Selection
- Define the Instance name and Instance ID
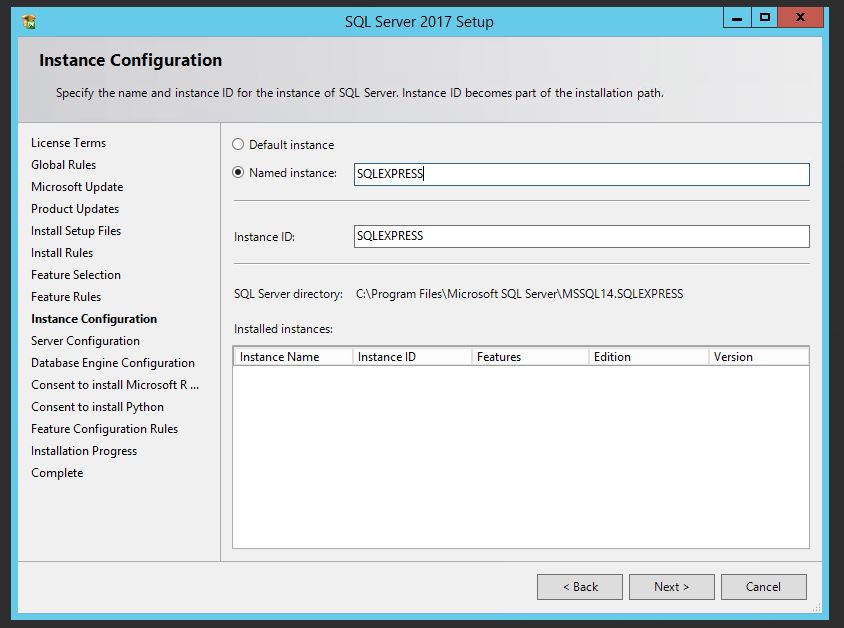
Screen #15 – SQL Server Setup – Instance Configuration
- For the Server configuration adjust it accordingly to you needs and press Next button.
You can specify service startup and authentication.Under the Service Account tab, for the services SQL Server Agent and SQL Server Database Engine, enter the data of that user which the DLS nodes utilize for connecting to the database. This user must be part of the administrators group. In Startup Type, select Manual for the SQL Server Agent, and Automatic for the SQL Server Database Engine.
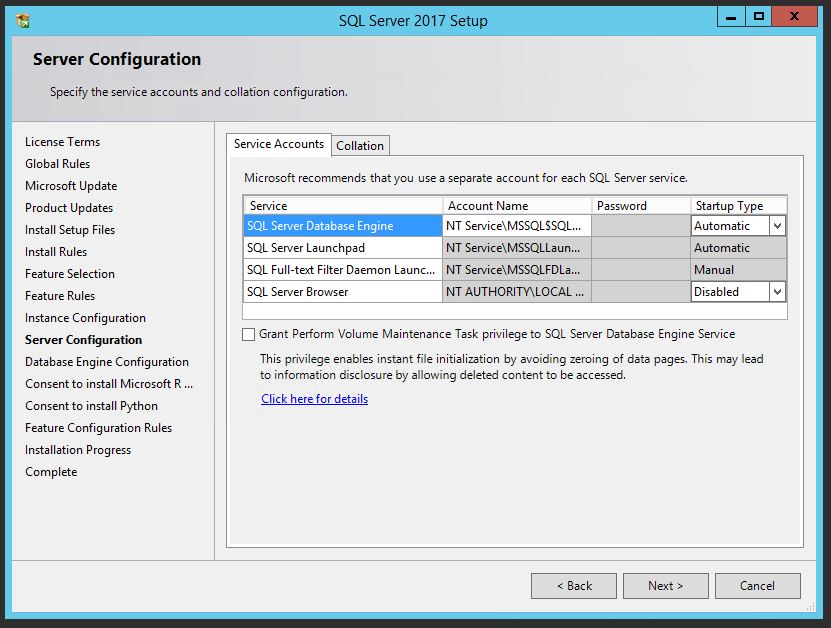
Screen #16 – SQL Server Setup – Server Configuration
- Specify password for Administrator account with the selection of Mixed Mode of authentication and press next button
Click Add Current User if current user is going to be the SQL Server administrator. Add any other domain user in case the current local user is not the database user to be used in.
Since there are numerous GVS cases where the domain or local user changed, deleted, etc, and forgotten from our engineers ,define mixed mode authentication with a strong provided password and there will always be a default user sa that we could connect using the provided password
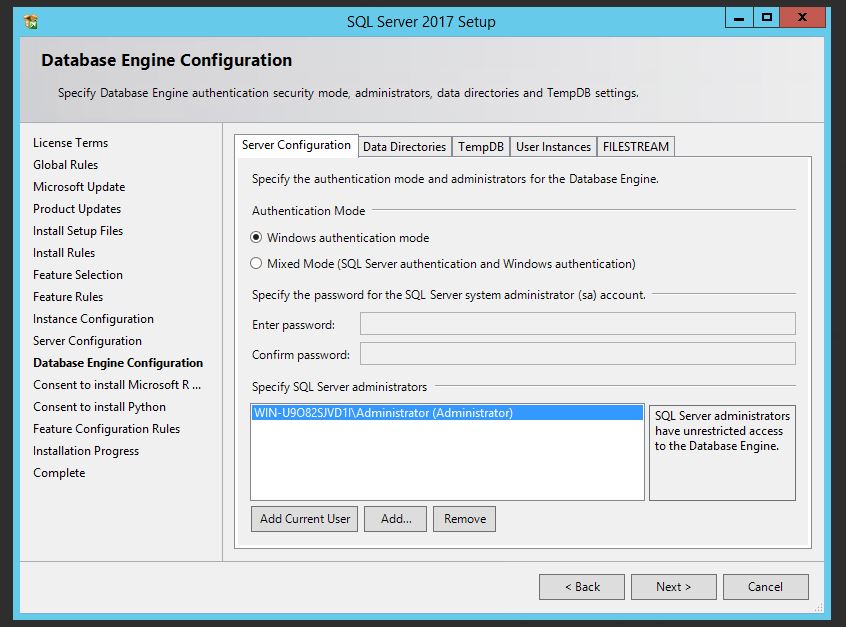
Screen #17 – SQL Server Setup – Database Engine Configuration
- Adjust database, backup and log directory in case necessity and press next button
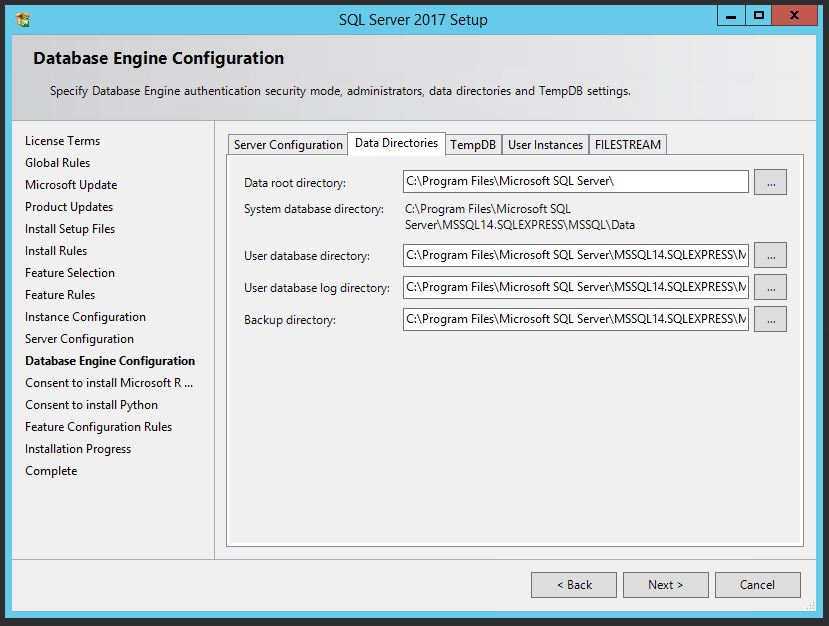
Screen #18 – SQL Server Setup – Database Engine Configuration
- Do not change configuration of TempDB, User Interface and FILESTREAM unless you are sure what you are doing and that is not required.
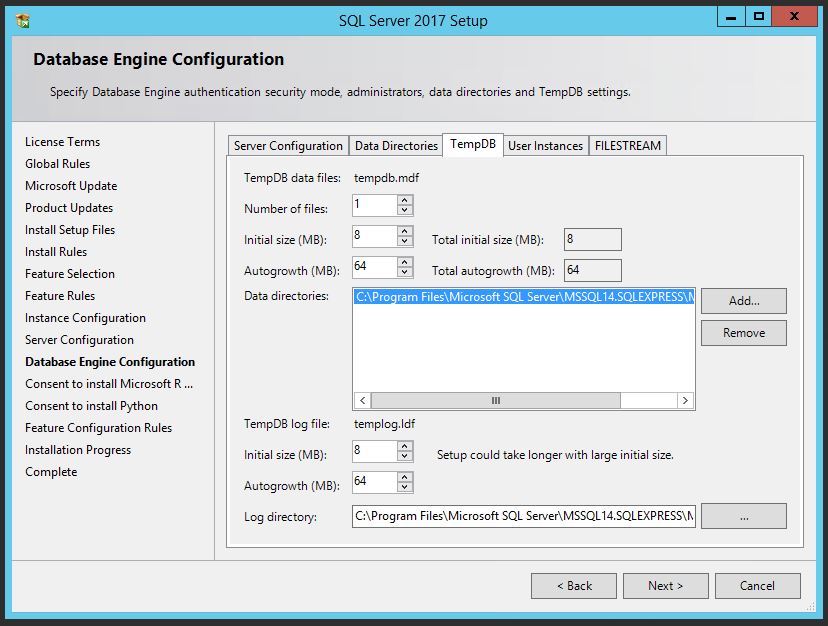
Screen #19 – SQL Server Setup – Database Engine Configuration
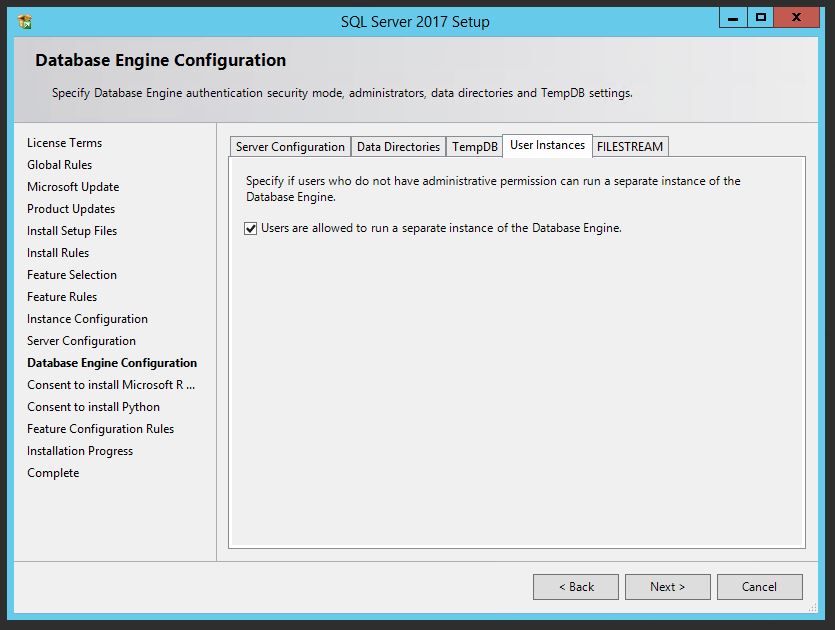
Screen #20 – SQL Server Setup – Database Engine Configuration

Screen #21 – SQL Server Setup – Database Engine Configuration
- Press Accept button to download Microsoft R Open and install it on your machine with accepting patches and updates for the software according to your SQL Server update preferences. Press next as it done.
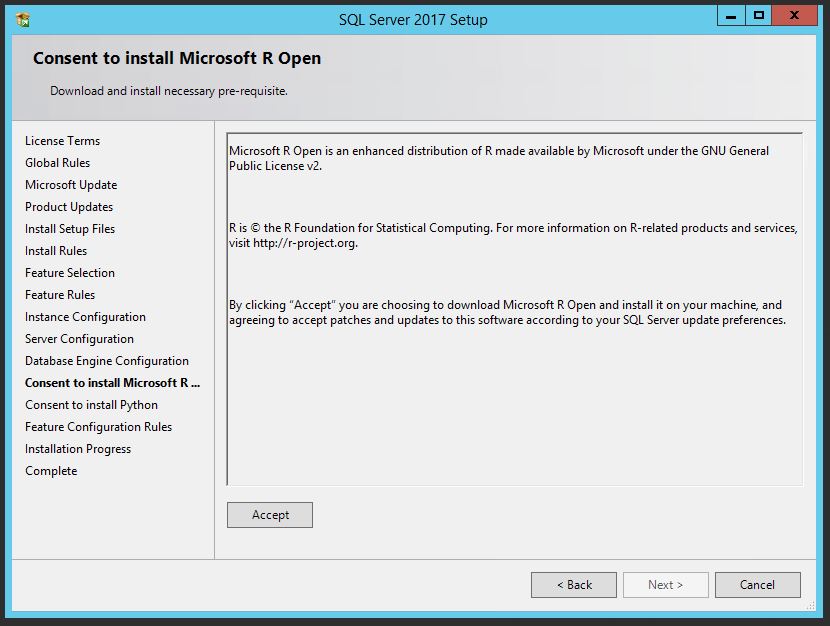
Screen #22 – SQL Server Setup – Microsoft R Open installation
- Press Accept button to download Python and install it on your machine with accepting patches and updates for the software according to your SQL Server update preferences. Press next as it done.
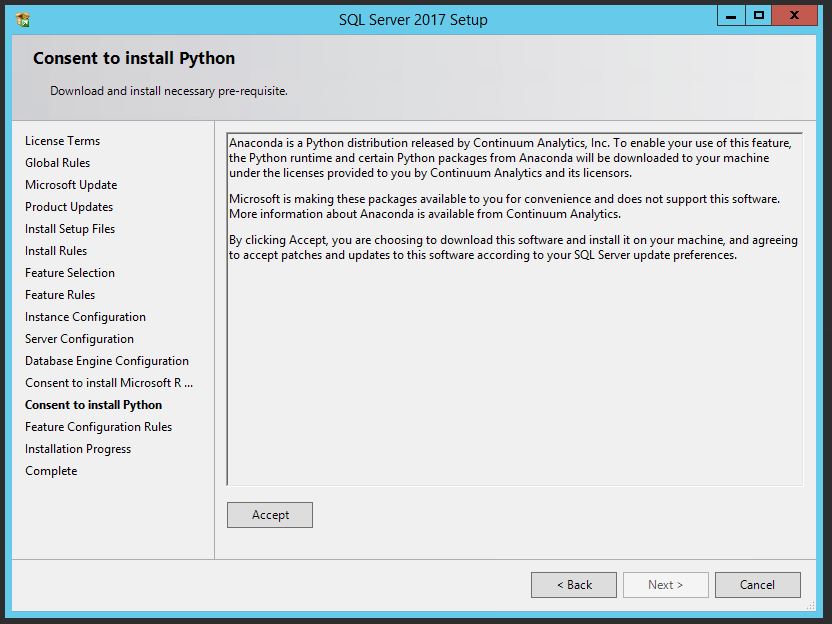
Screen #23 – SQL Server Setup – Python installation
In result system will proceed with installation process as it is.
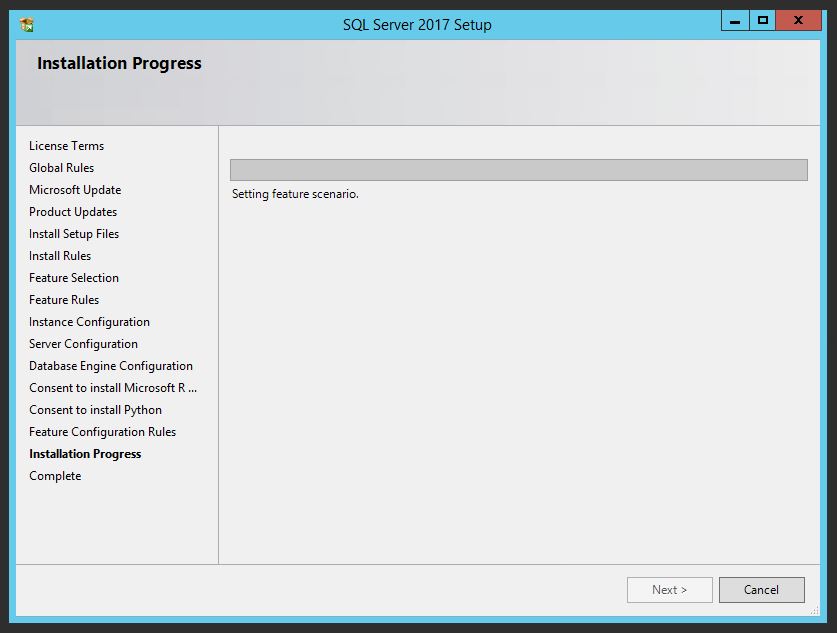
Screen #24 – SQL Server Setup – Installation
- As soon as installation accomplished restart your computer to finalizes the installation process for SQL Server.
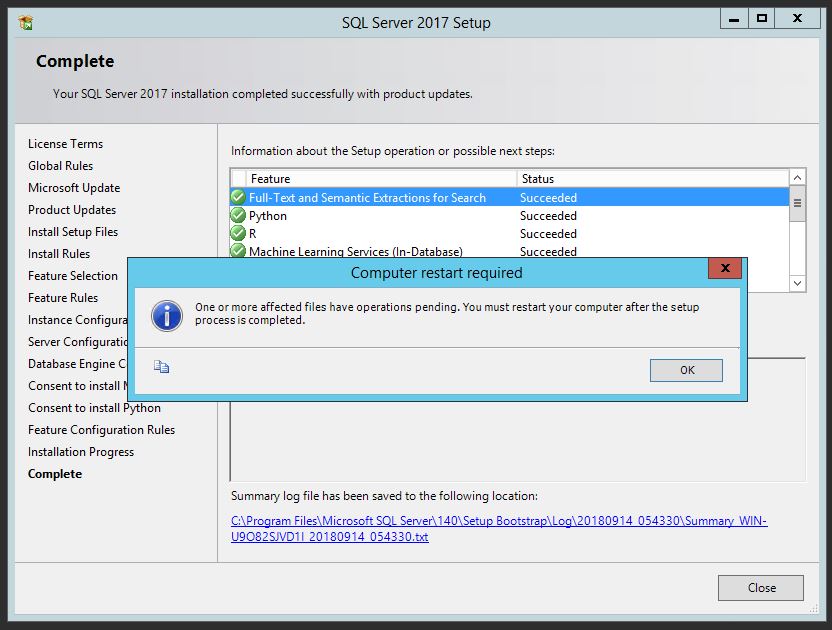
Screen #25 – SQL Server Setup – Installation finalization
MS SQL Server Configuration
To finish configuration of MS SQL Server you would need to install SQL Management tool
MS SQL Management tool installation
- Run Installation Wizard for the SQL Server Installation Center.
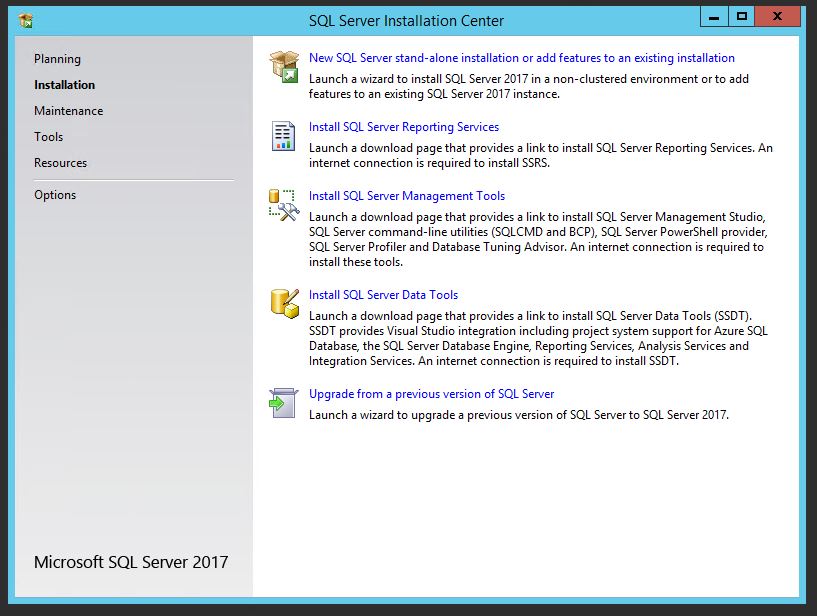
Screen #26 – SQL Management Tool Setup
- Scroll down until you find the link for SQL Server Management Tool and click on it to download the installer.
- Run the installer
- Choose the download location for the installer files and click OK.
- In the next installer frame, click on “New SQL Server stand-alone installation or add features to an existing installation”.
- Check the “I accept license terms” box and click Next in the License Terms frame.
- In the Feature Selection installer frame, keep all the features in the list checked and click Next.
- When the installation is complete, click Close to finish the process and exit the installer.
- To access SQL Server Management Studio, use the Windows Start menu, or create a desktop shortcut for easier access.
MS SQL Management tool configuration
- Start the tool from the Windows Start menu – to find it, type “Management Studio” in the search box.
- In the Connect to Server window, enter (LocalDB)\MSSQLLocalDB in the server name field.
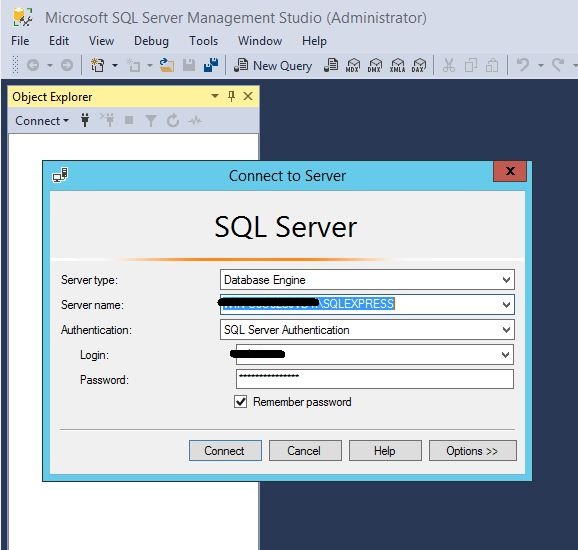
Screen #27 – SQL Management Tool – Connect to Server
- Specify Login, Password and connect to the Server
- In Object Explorer select connected Server and on right mouse click on such choose “Properties” option in appeared context menu
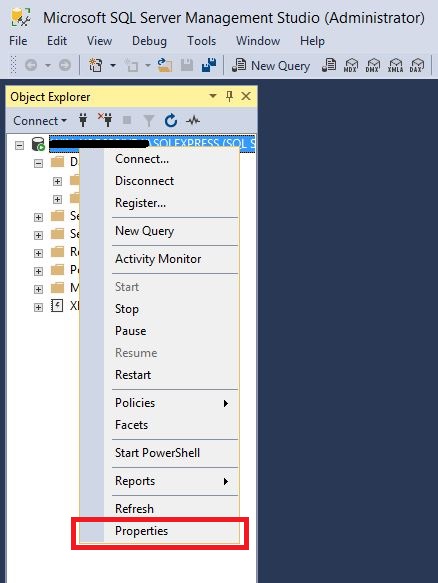
Screen #28 – SQL Management Tool – Connection Properties
- To chose type of Authentication select Security tab and adjust settings accordingly and save changes by pressing Ok button
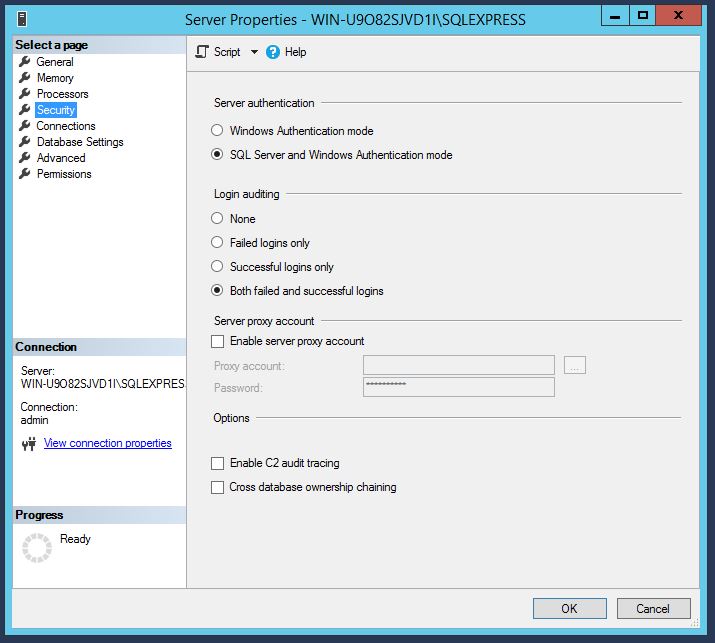
Screen #29 – SQL Management Tool – Server Security
- Close SQL Server Management Studio and open SQL Server Configuration Manager
- Navigate to SQL Server Network Configuration -> Protocols for SQLEXPRESS and select TCP\IP protocol to enable such and open its Properties
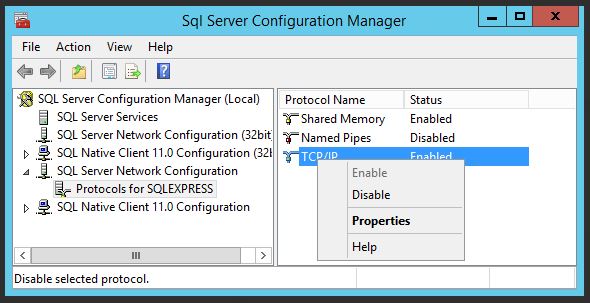
Screen #30 – SQL Server Configuration Manager – TCP\IP Protocols
- In newly appeared window select tab “IP Addresses” and scroll down to the bottom.
- Verify that TCP Port is set to 1433. If field is empty edit it to have appropriate port set.
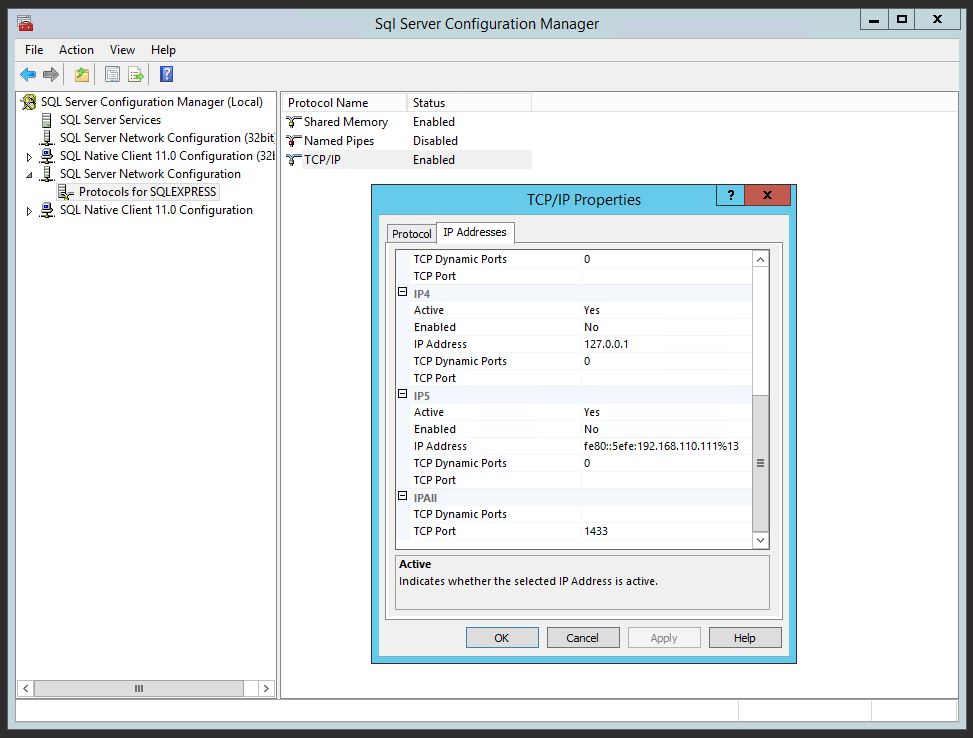
Screen #31 – SQL Server Configuration Manager – TCP\IP Protocols Configuration
Primavera DB Installation
As soon as Prerequisite part is done we can proceed with First of Three parts of Primavera installation.
First of such is Primaver DB Installation.
- Navigate to the folder with Primavera DB installation package and run dbsetup.
- On the Primavera dialog box:
- Choose Install new database
- Choose Microsoft SQL Server as a server type
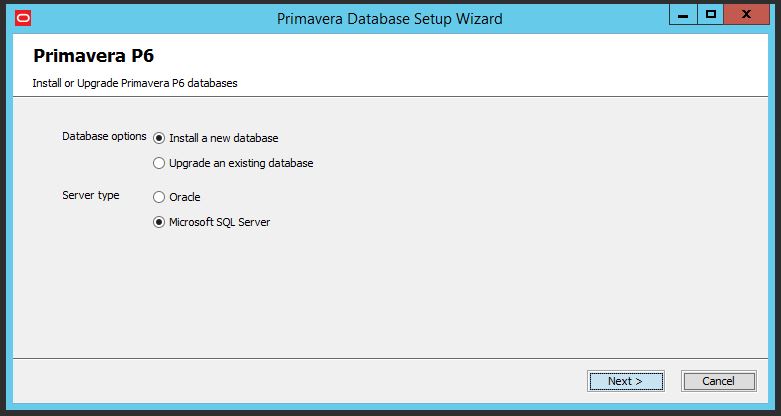
Screen #32 – Primavera Dtabase Setup
- On the Connection Information dialog box:
- In the DBA user name field, type the Microsoft SQL Server system administrator name to register to the server.
- In the DBA password field, type the password for this system administrator.
- In the Database host address field, enter the server machine name or IP address where Microsoft SQL Server is installed.
- In the Database host port field, enter the port number that Microsoft SQL Server is using. The default is 1433.
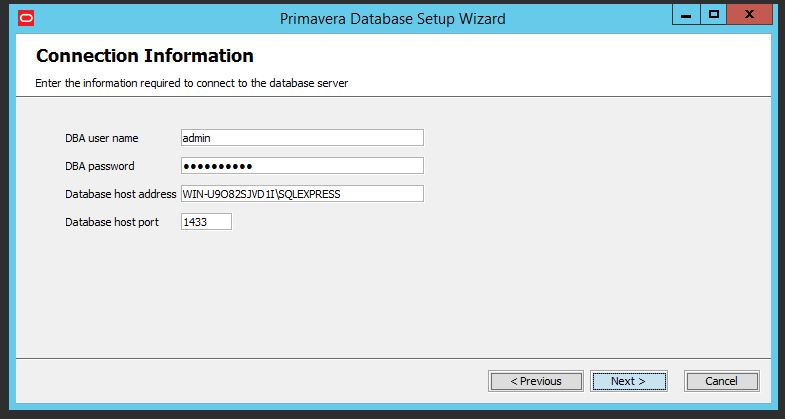
Screen #33 – Primavera Dtabase Setup-Connection Information
- On the Create SQL Server Users dialog box, specify the SQL database privileged and public user names and passwords. If you already have a privileged or public user you want to use, you can select the Use existing option.
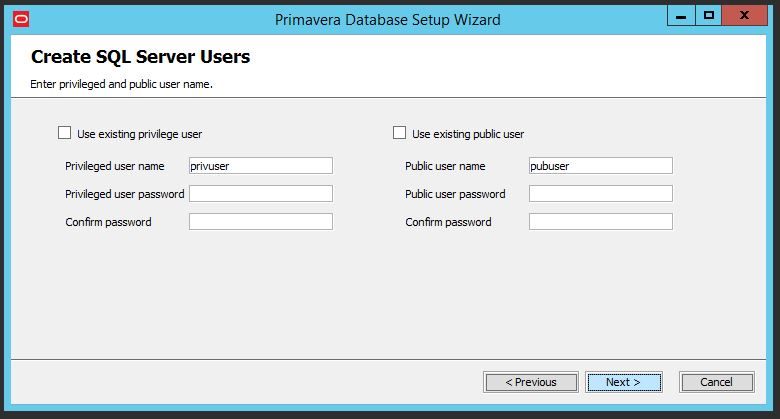
Screen #34 – Primavera Dtabase Setup – SQL Server Users creation
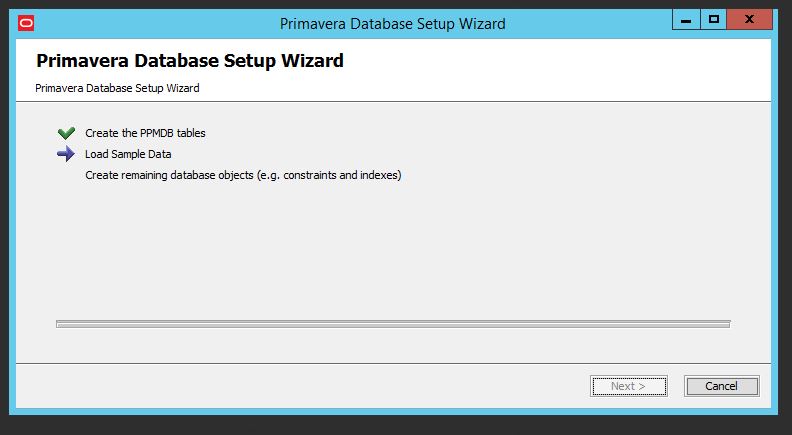
Screen #35 – Primavera Dtabase Setup
Primavera Professional App Installation
With finishing Primaver DB Installation you need to proceed with Primavera Professional App Installation.
For that
- Navigate to the folder with Primavera Professional App installation package and run setup file.
- In appeared setup windows select the Typical option and click OK.
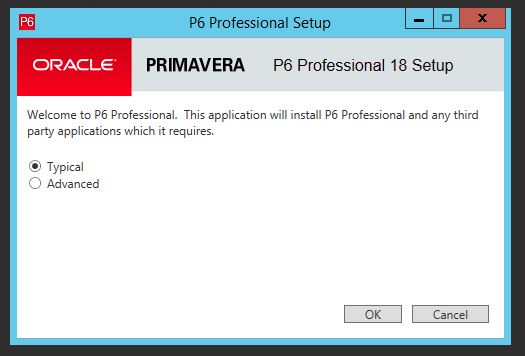
Screen #36 – Primavera Professional Setup
- Define Installation location and features for installation on next appeared window and press Next button
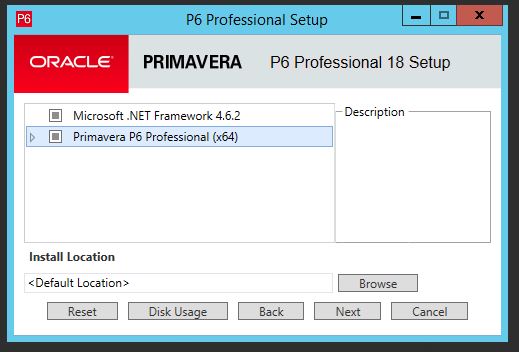
Screen #37 – Primavera Professional Setup – Feature selection
- Click Install.
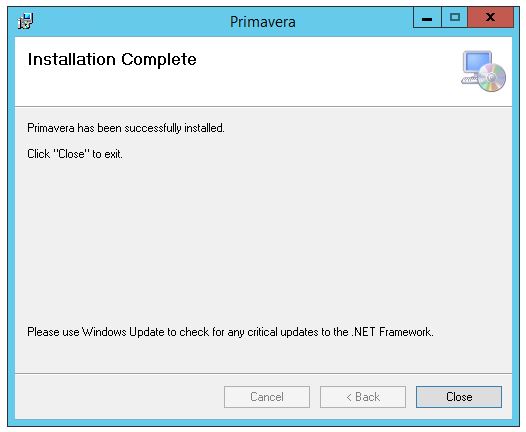
When P6 Professional is installed, the Next Steps window appears.
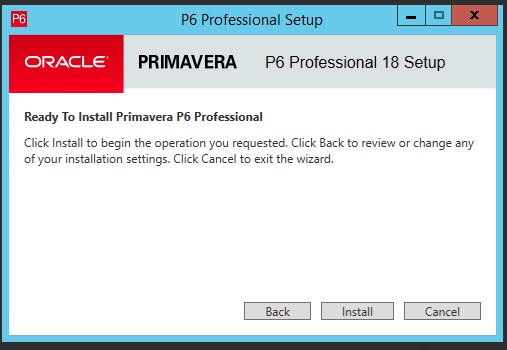
Screen #38 – Primavera Professional Setup – Installation begin
- Click OK to automatically Restart your computer and accomplish installation.
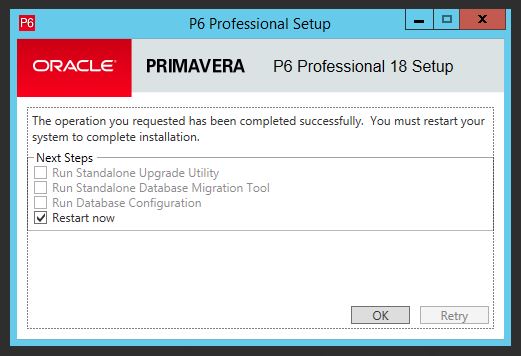
Screen #39 – Primavera Professional Setup – accomplishing installation process
Primavera Integration API Installation
The last required part is Primavera API Installation.
- Navigate to the folder with Primavera Integration API installation package and run setup file. Usually it’s located in directory DISK1\install.
- On the Welcome screen, click Next.
- In the Specify Home Details screen:
- In the Name field, enter a name for the P6 Professional API.
- In the Path field, specify the installation location for the P6 Professional API files.
- Click Next.
- In the Available Product Components screen, select the components to install and click Next.
- In the JDK Home Directory screen, type or browse to the location where the JDK is installed and click Next.
- In the Summary screen, click Install.
- In the Database Configuration dialog box:
- Choose the database type: Oracle or Microsoft SQL Server.
- Click Next.
- Specify the database connection parameters.
- Click Next.
- If the installer detects an existing configuration screen, choose the appropriate action.
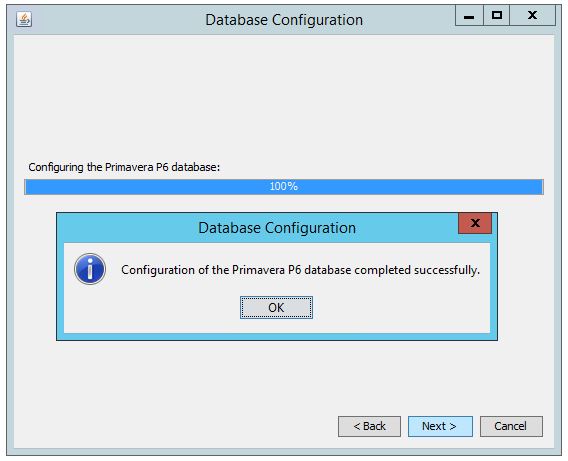
- When the message displays to confirm the database configuration has completed
successfully:- Click OK.
- Click Exit to close the Setup wizard and accomplish installation process.
Primavera Plugin Installation
Prerequisites
Please NOTE that Plugin is not compatible with Windows XP or previous OS version. Microsoft .NET Framework 4.5.x or newer must be installed as well.
Installation of the Plugin
- Install prerequisite files if it’s not done yet.
- Run provided installer and on appeared Security messages you will need to confirm that you would like to install it anyway.
By pressing “More info” Operation System will give you an option to proceed with installation.
Screen #40 – Security Confirmation request
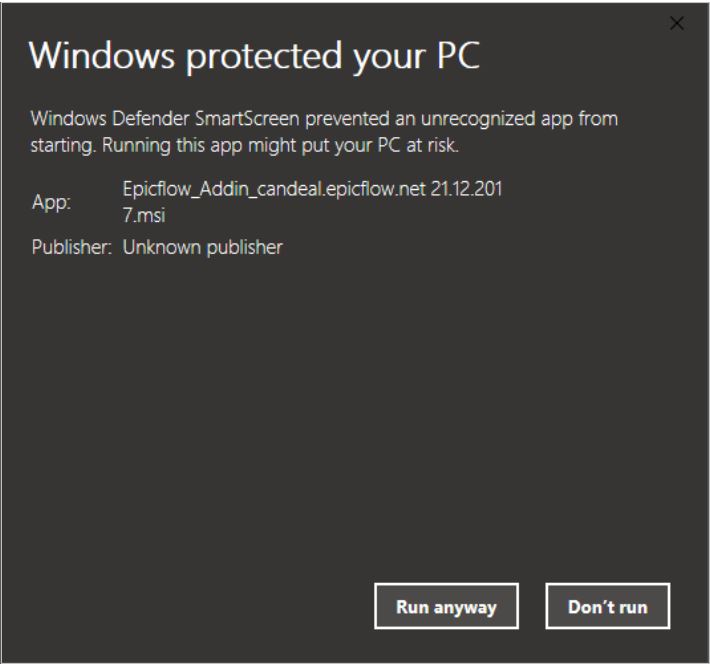
Screen #41 – Security Confirmation request
- As result you’ll get to the Welcome screen where you need to press Next button to proceed further with installation
Screen #42 – Primavera Plugin Installation Welcome Screen
- On appeared installation window you will need to specify installation path. By default it’s set to “C:\Program Files (x86)\EpicFlow\”. Change it to “C:\EpicFlow\Primavera” by removing “Program Files (x86)” part.
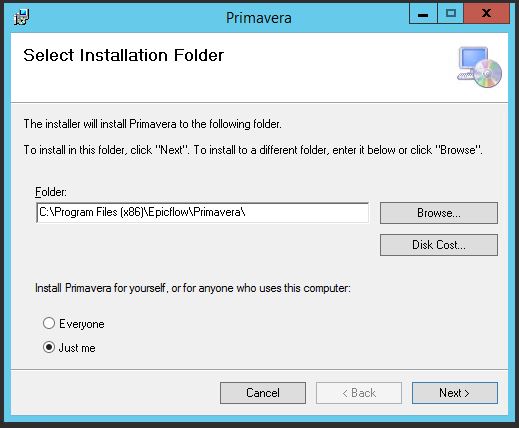
Screen #43 – Primavera Plugin Installation Folder Configuration
- As a next step you would need to define for
- “PATH” field – location where you have installed Primavera API. AS an example it can be “C:\Program Files\P6IntegrationAPI_1“
- “Username for P6 API” and “Password for P6 API” please enter credentials of your admin account
- “Primavera DB Connection” – specifies address of connection to Primavera DB. In case if it’s located on different computer please adjust it accordingly.
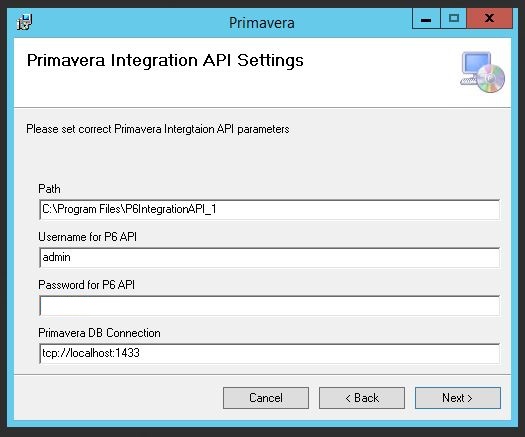
Screen #44 – Primavera Plugin Installation API configuration
- Next step is configuring Epicflow site settings for the plugin. Specify “URL” , “Username” and “Password” fields for the Epicflow system.
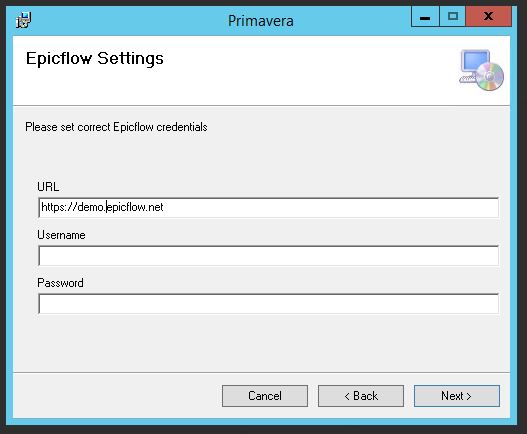
Screen #45 – Primavera Plugin Installation Epicflow Site config
- Plugin allows you import only specific projects only and to identify such you would need to use a special key. Configuration and usage of that key is described bellow but at this step you need to set name for it. As an Example it can be “UseForIntegrationWithEpicflow“
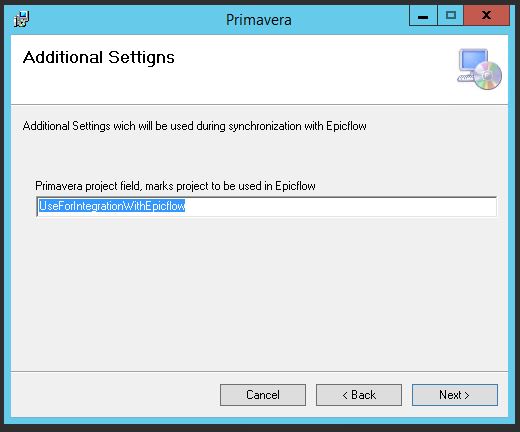
Screen #46 – Primavera Plugin Project field key for integration
- For the Import key configuration switch to Primavera system and select from the top menu item “Enterprise” and sub-item of such “User Defined Fields…”
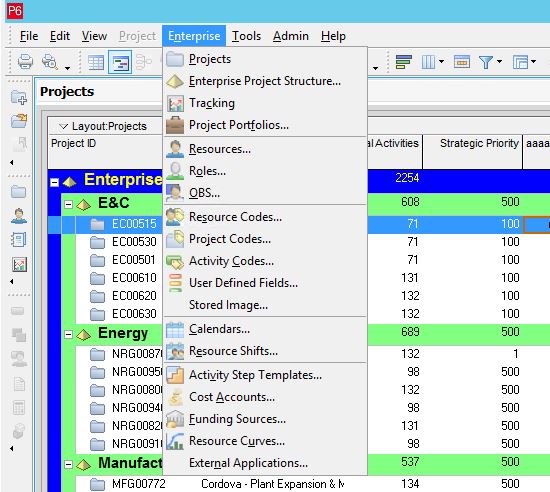
Screen #47 – Primavera Special Key configuration
- In “User Defined Fields” window select from the possible field groups element “Projects” as shown on screenshot and press “Add” button
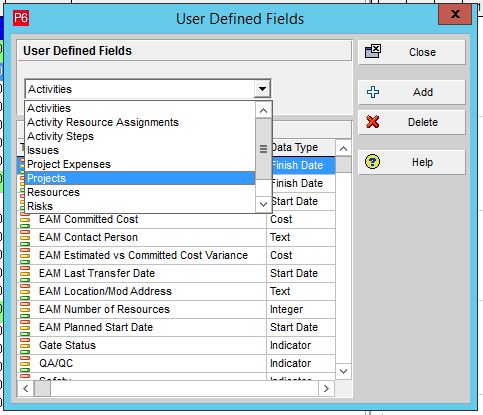
Screen #48 – Primavera Special Key configuration
- Note that you should add field with the same name as you have specified at step “Primavera Plugin Project field key for integration“.
- Change “Data Type” of the newly added key to “Indicator” and press “Close”
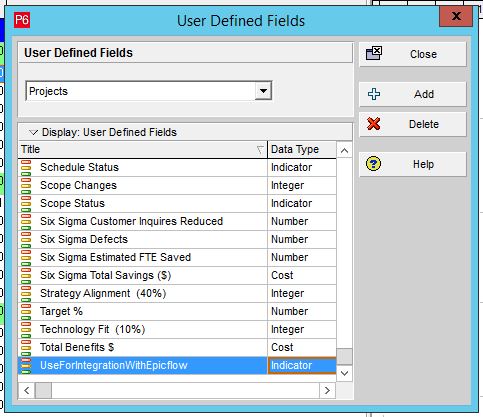
Screen #49 – Primavera Special Key configuration
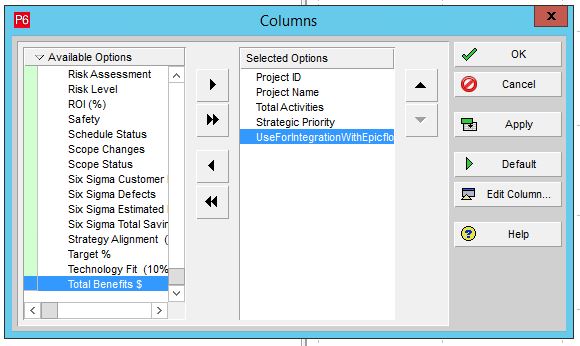
- At main screen add new column by right click of the columns name and selection of the item Add column from the appeared context menu.
- In appeared window “Columns” locate your key field in “User Defined” section and transfer it to the right side of Selected Options
- Confirm changes by left mouse click on “Ok” button
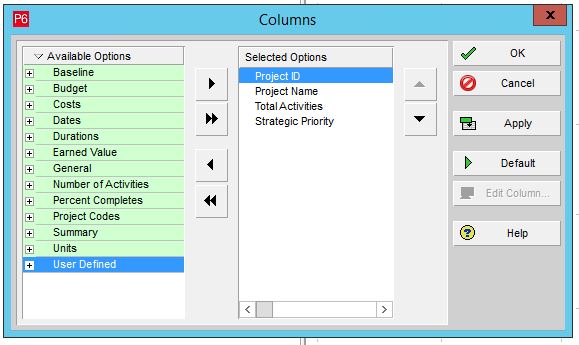
Screen #50 – Primavera Special Key configuration
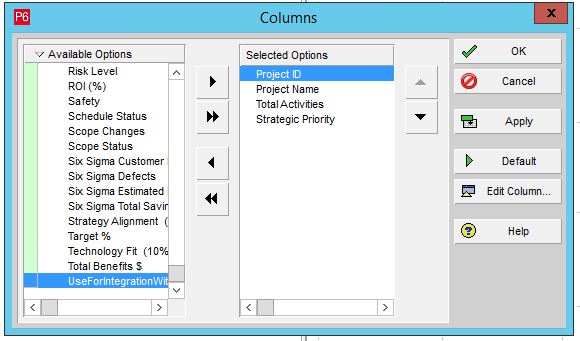
Screen #51 – Primavera Special Key configuration
Screen #52 – Primavera Special Key configuration
- Go to the top menu item “View”->”Columns” and select “Customize” element. That will allow you to change value for it.
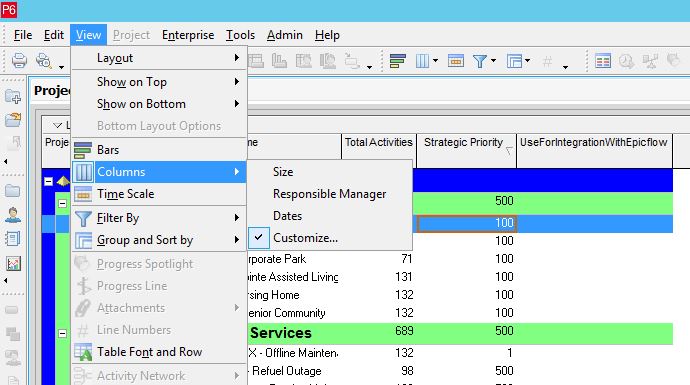
Screen #53 – Primavera Special Key configuration
- Set for the projects which you are aiming to import into Epicflow system “Green check” icon, as we have on screenshot bellow. Note Projects with absence of such or any other selected are not going to be uploaded into Epicflow.
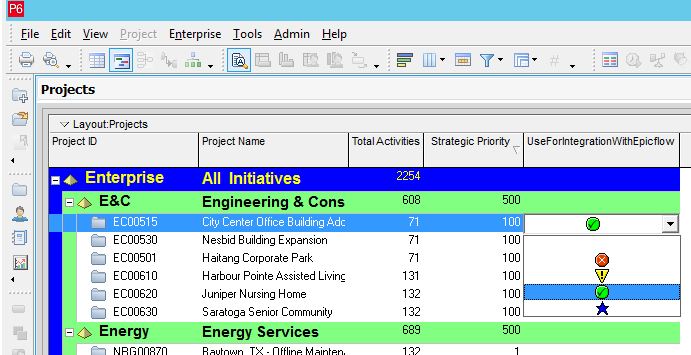
Screen #54 – Primavera Special Key configuration
- Switch back to Primavera Plugin installation and start installation by click on “Next” button

Screen #56 – Primavera Plugin Installation
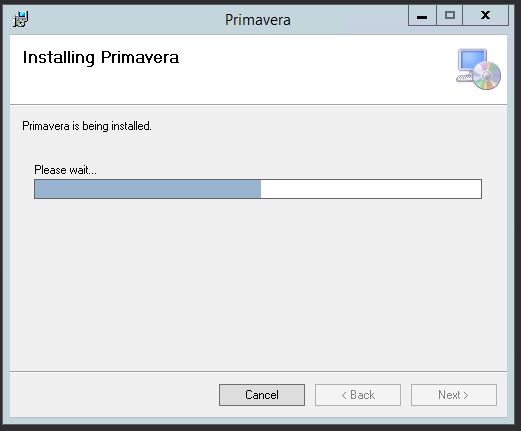
Screen #57 – Primavera Plugin Installation
Screen #58 – Primavera Plugin Installation accomplishment
- As soon as you confirm installation and Operation System’s security request installation will be accomplished.
- As last step you would need to configure Primavera API. For that go to the location where it’s installed (by default “C:\Program Files\P6IntegrationAPI_1“) and run “dbconfig.cmd”
- Select “Microsoft SQL Server” option and press “Next” button

Screen #59 – Primavera API Database Configuration
- On next screen you would need to specify all required information for the connection to Primavera DB. As soon as finished press “Next” button.
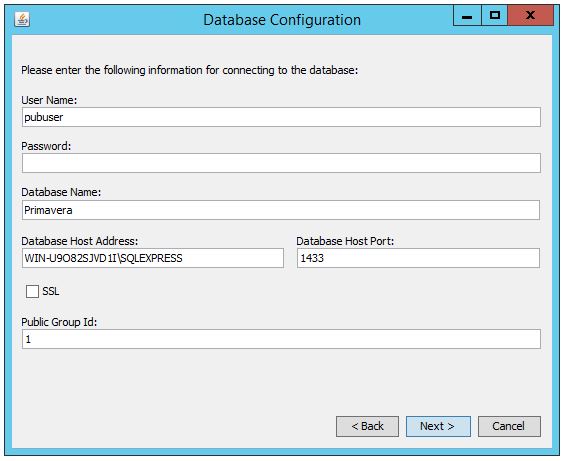
Screen #60 – Primavera API Database Configuration
- Please specify name of new configuration and press Next to accomplish configuration installation process.
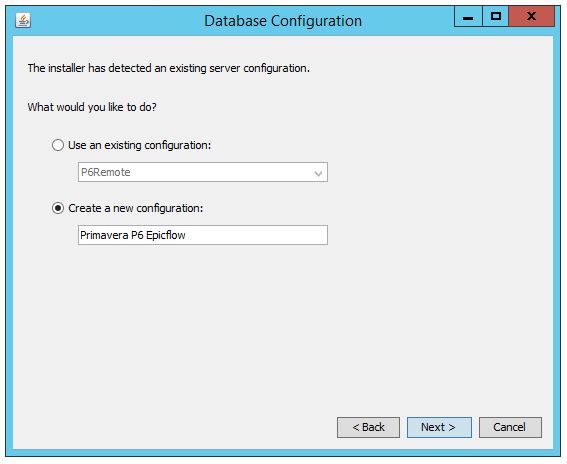
Screen #61 – Primavera API Database Configuration
As soon as Database Configuration is finished and plugin is installed, each 15 minutes plugin automatically will upload all marked project into Epicflow.
Please note that upload of all defined scope can take some time depending on its size.
Primavera Project preparation
To prepare your Primavera environment, you’ll have to invest some effort in checking your data in Primavera Project first. Check the following items which are described in the Primavera basics wiki:
- Project Title, Project Manager, Project Start & Finish Date.
- A project network with clear defined task relations, Resources assigned, Work estimated ad milestones defined as required for Epicflow.
- Resource Pool is configured
- Keep each project in a separate Project file.
RECOMMENDATIONS:
- Avoid usage of the huge files which are hard to maintain.